 Save It
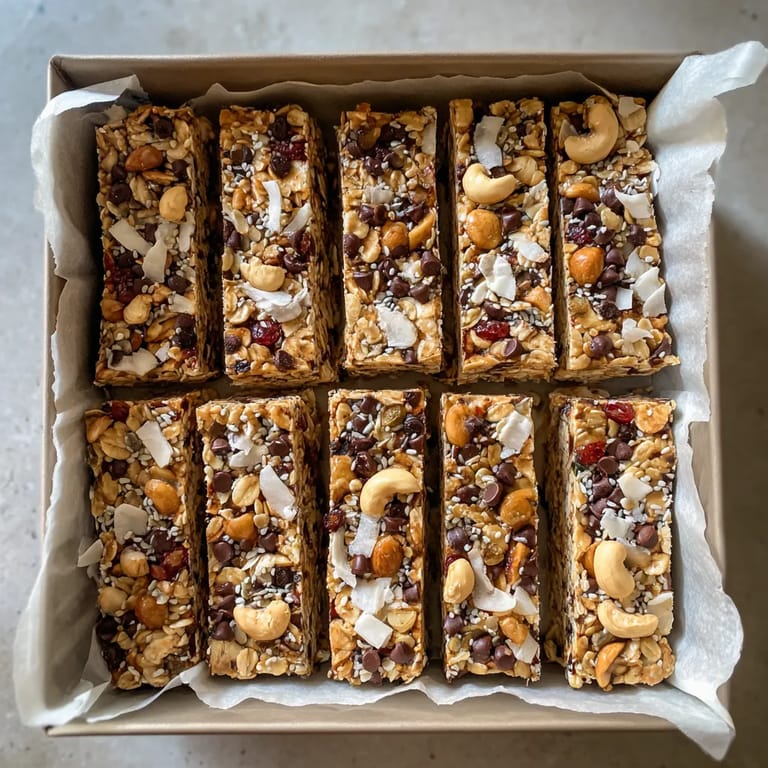
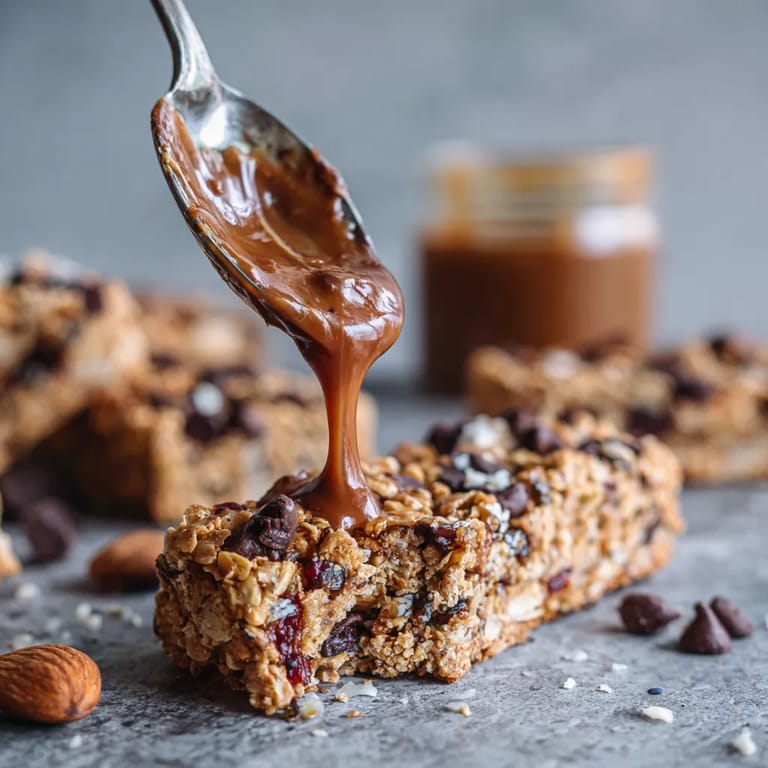
 These no-bake granola bars make healthy snacking quick and delicious with almost no effort. They can be whipped up in minutes and chill while you handle the rest of your day. Customizable for whatever your pantry holds these chewy bars have saved me from so many snack emergencies and my family asks for them on repeat especially before busy weekends.
I threw this recipe together during a busy month and have come back to it every time I need wholesome energy for my kids and myself
Ingredients
- Rolled oats: These give the bars texture and fullness Choose old-fashioned or gluten-free oats if needed
- Nut butter: Peanut almond or cashew butters add protein and hold everything together Look for one with minimal ingredients for best flavor
- Honey: Brings sweetness and helps bind everything together For vegan bars use pure maple syrup
- Vanilla extract: Adds a hint of warmth and hominess Use real vanilla for the best taste
- Salt: Just a pinch boosts the other flavors Choose sea salt or kosher salt if you have it
- Mini chocolate chips: For bursts of sweetness Use high quality or dairy free as needed
- Chopped nuts: Almonds walnuts or pecans boost crunch and nutrition Choose unsalted nuts and chop finely
- Dried fruit: Options like cranberries or raisins add tartness Choose soft plump fruit for better texture
- Shredded coconut: For extra chew and subtle sweetness Use unsweetened for less sugar
- Chia seeds or flaxseed: Add fiber and omega 3s
- Mix in any combination that suits your taste or what you have available
Tired of Takeout? 🥡
Get 10 meals you can make faster than delivery arrives. Seriously.
One email. No spam. Unsubscribe anytime.
Step-by-Step Instructions
- Prepare Your Pan:
- Line an eight inch square baking pan with parchment paper letting ends hang over the sides This helps you lift out the finished bars easily
- Mix the Dry Ingredients:
- Combine rolled oats and salt in a large bowl Stir to blend well This becomes the base that will hold the bars together
- Melt and Combine the Wet Ingredients:
- In a medium bowl microwave the nut butter and honey for about thirty to forty five seconds until smooth and easy to stir Add the vanilla extract and mix thoroughly
- Stir Wet into Dry:
- Pour the warmed nut butter mixture over the oats and salt Stir patiently until every oat is coated and sticking together No dry patches should remain
- Fold in Mix-ins:
- Choose and add up to one cup total mix-ins Mix until everything is evenly spread out This ensures every bite has something delightful
- Press Firmly Into Pan:
- Transfer the mixture into your lined pan Use a stiff spatula or the back of a measuring cup to press down hard really compacting everything This helps the bars hold together after chilling
- Chill to Set:
- Refrigerate for at least one hour so the bars become firm and sliceable
- Cut Into Bars:
- Remove from the pan by lifting the parchment and place on a cutting board Cut into twelve even bars using a sharp knife for clean edges
- Store Properly:
- Place in an airtight container and keep in the refrigerator for up to one week Enjoy straight from the fridge for the best texture
 Save It
 I love using unsweetened coconut in these for a bit of tropical flavor My youngest daughter and I once spent a weekend experimenting with different dried fruit and nut combos and it turned into the best Sunday snack tradition for us
Storage Tips
For freshest flavor keep the bars in a sealed container in the fridge They stay nice and chewy without getting too firm If you want to make them ahead for later you can wrap bars individually and freeze for up to two months They thaw quickly on the counter or in lunch boxes Avoid leaving them out in warm temperatures for too long as the bars may become too soft to hold their shape
Ingredient Substitutions
Maple syrup works in place of honey for a vegan version Try sunflower seed butter instead of nut butter if allergies are a concern Swap out the mix-ins based on what you have White chocolate cranberries pumpkin seeds or chopped dates are all tasty additions If you like a chocolatey flavor a little cocoa powder stirred into the oats goes a long way
Serving Suggestions
Serve bars as a grab and go breakfast option especially for busy mornings Pack them in lunchboxes for a nourishing school or office snack Crumbled over yogurt they make a crunchy topping with a little added sweetness These bars are perfect for road trips or hikes since they travel well when kept cool
Cultural or Historical Context
Granola bars became a popular snack in the United States in the 1970s as part of the health food movement These homemade versions give you full control over ingredients and are free from preservatives often found in store bought varieties I find the ritual of pressing the mix into the pan just as satisfying now as when I watched my own mom make similar bars in my childhood kitchen
Save It Common Questions About Recipes
- → Can I use maple syrup instead of honey?
Yes, maple syrup works as a sweetener and makes the bars suitable for vegan diets.
- → What type of nut butter is best?
Peanut, almond, or cashew butters all provide a creamy texture and rich flavor. Choose your favorite variety.
- → How can I make the bars nut-free?
Swap nut butter for sunflower seed butter and avoid adding nuts among the mix-ins.
- → Do I need to bake these bars?
No baking is required. The mixture sets in the refrigerator for a delightful chewy texture.
- → How long can I store the bars?
The bars stay fresh in an airtight container in the fridge for up to one week.
- → Are these bars gluten-free?
Use certified gluten-free oats to ensure the bars are safe for gluten-sensitive individuals.