 Save It
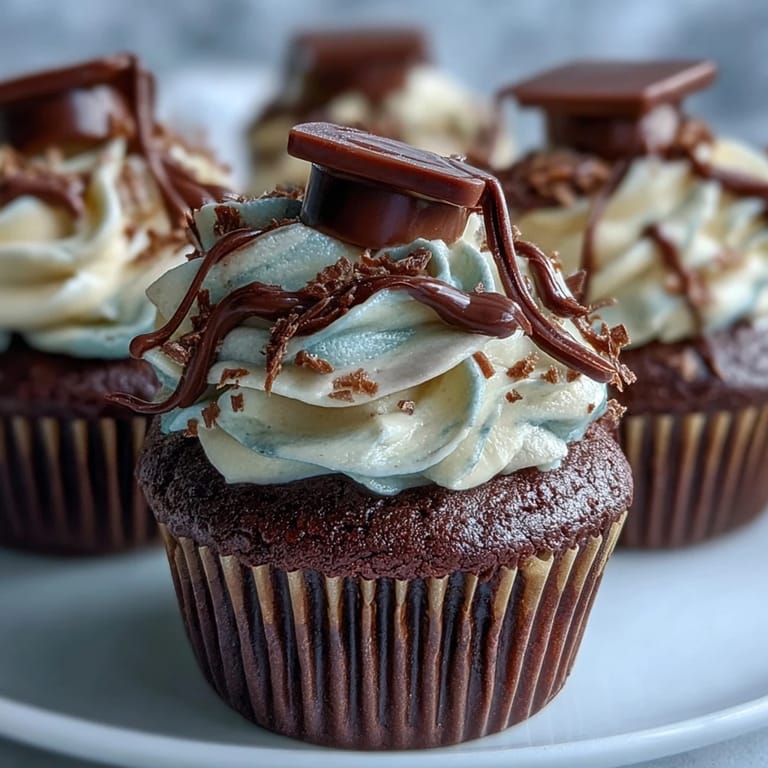
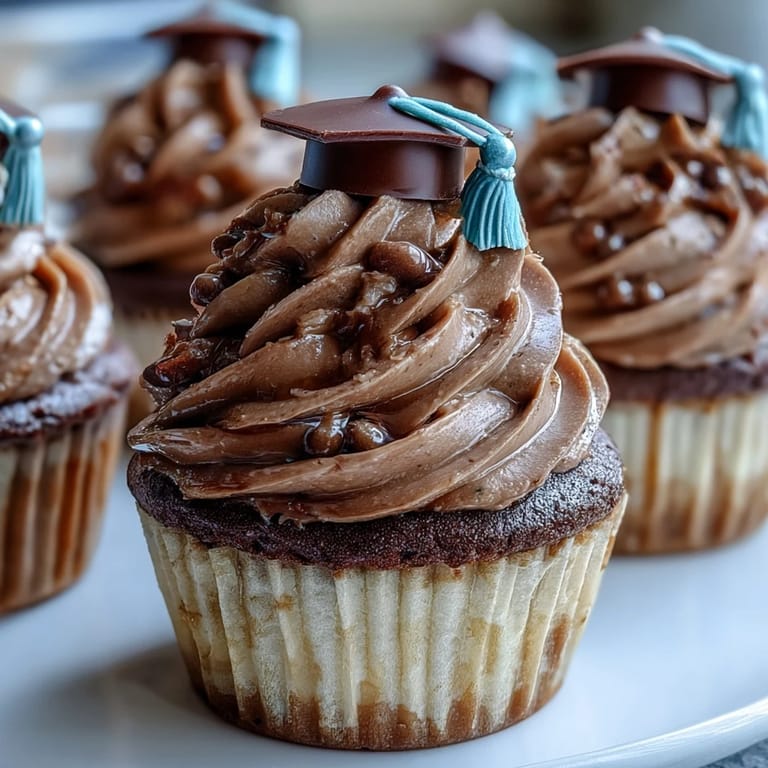
 My cousin texted me three weeks before her graduation asking if I could bring something to her party, and my first thought was cupcakes with those tiny graduation caps on top. I'd seen them once at a bakery and thought they looked impossibly fancy, but standing in my kitchen that afternoon, I realized they were just clever candy stacking. The look on her face when she bit into one and found that hidden peanut butter cup made all the fiddly assembly worth it.
I made a batch for my neighbor's daughter's graduation party last spring, and watching eighteen-year-olds genuinely light up over cupcakes with tiny hats on them reminded me that sometimes the smallest details matter most. One girl took three photos before eating hers, and her friends started asking if I took orders, which felt like the highest compliment a home baker could get.
Ingredients
- All-purpose flour: The foundation here, and I learned the hard way that spooning it into the measuring cup instead of scooping directly from the bag makes a real difference in texture.
- Granulated sugar: This sweetens everything while keeping the crumb tender, so don't skip the creaming step no matter how impatient you are.
- Unsalted butter, softened: Room temperature butter is non-negotiable if you want that fluffy base for your frosting and cupcakes.
- Large eggs: They bring structure and moisture, so use the size the recipe calls for rather than guessing.
- Whole milk: This lightens the batter and creates a more tender crumb than you'd get with water alone.
- Baking powder: Fresh baking powder makes the difference between cupcakes that rise beautifully and ones that stay a bit dense, so check that expiration date.
- Pure vanilla extract: The real stuff transforms these from decent to genuinely delicious, and it's worth the extra cost.
- Powdered sugar: Sifting it before mixing eliminates lumps and gives you frosting that spreads like silk.
- Mini peanut butter cups: The surprise inside that makes people go back for more, though chocolate squares work just as well for nut allergies.
- Chocolate square candies: These form the base of your graduation cap and are sturdy enough to handle the assembly without cracking.
- Licorice or sour candy strips: Cut into pieces, they become the tassel that makes the cap actually look like a graduation mortarboard.
- Mini M&Ms or candy pearls: A tiny dot on top of the cap gives it that finished, detailed look without much effort.
Tired of Takeout? 🥡
Get 10 meals you can make faster than delivery arrives. Seriously.
One email. No spam. Unsubscribe anytime.
Instructions
- Get your oven ready:
- Preheat to 350°F and line your muffin tin with paper liners while you're gathering ingredients, so there's no scrambling later.
- Cream the butter and sugar:
- Beat them together for about two minutes until the mixture looks pale and fluffy, almost like clouds. This step aerates the batter and is worth the time it takes.
- Add eggs and vanilla:
- Crack eggs in one at a time, beating well after each addition so they incorporate smoothly. The vanilla goes in last and smells like comfort.
- Prepare your dry ingredients:
- In a separate bowl, whisk together flour, baking powder, and salt so they're evenly distributed throughout.
- Alternate wet and dry:
- Add half the flour mixture to your butter mixture and mix gently, then pour in the milk, then add the remaining flour and fold just until combined. Don't overmix or you'll develop gluten and end up with tough cupcakes.
- Fill and bake:
- Divide batter evenly among liners and bake for 18 to 20 minutes until a toothpick comes out clean and the tops spring back slightly when touched. Let them cool completely on a wire rack before frosting, or your frosting will slide right off.
- Make the frosting:
- Beat softened butter until it's completely smooth, then gradually add powdered sugar while beating so you don't send a cloud of it all over your kitchen. Add milk, vanilla, and a pinch of salt, then beat until it's fluffy and spreadable.
- Frost the cupcakes:
- Use a spatula or piping bag to swirl frosting onto each cooled cupcake with a gentle hand.
- Assemble the graduation caps:
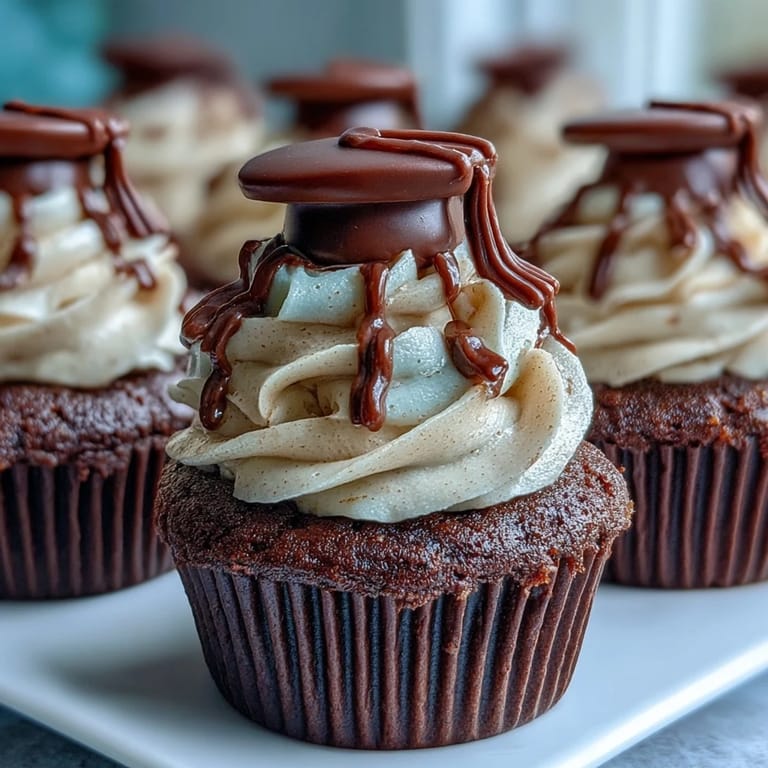
- Place a chocolate square flat-side up and dab a tiny bit of melted chocolate or frosting in the center, then press a mini peanut butter cup upside-down onto it to form the crown of the cap. Attach a piece of licorice as the tassel and a mini M&M as the button, letting everything set for a few minutes before placing on the frosted cupcakes.
 Save It
 There's something special about making food for milestone moments, and these cupcakes sit right at that intersection of impressive and achievable. They proved to me that celebration doesn't need to be complicated, just thoughtful.
Why This Recipe Works for Celebrations
Graduation parties happen fast, and you need food that can be made ahead without stress. These cupcakes let you bake the day before, store them in an airtight container, and assemble the caps whenever you have a quiet moment. The fact that they taste homemade but look professionally decorated makes guests feel genuinely celebrated, which is really what marking these moments is all about.
Customizing Your Caps for School Colors
The beauty of this design is how easily you can personalize it without changing the base recipe. Food coloring mixed into the frosting lets you match your graduate's school colors, and you can choose candies that coordinate with the palette you're going for. I once made a batch with deep blue frosting and gold cap toppers for a friend's daughter, and it looked like something from a specialty bakery but took maybe thirty minutes from box to final product.
Storage and Make-Ahead Tips
I learned to make these cupcakes at least a day in advance and store them unfrosted in an airtight container, which keeps them fresh and gives you flexibility on party day. The frosting keeps in the fridge for up to three days, so you can frost in the morning and assemble caps just before guests arrive. For longer storage, freeze unfrosted cupcakes for up to two weeks, then thaw at room temperature before frosting.
- Assemble the graduation cap toppers no more than a few hours before serving so they stay crisp and don't get soft from the frosting beneath them.
- If you're making these for a large gathering, prep all your candies in advance so the assembly line moves quickly.
- Keep extra caps made in case anyone wants seconds or you want one for yourself while testing the batch.
 Save It
 These cupcakes celebrate the person more than the dessert itself, which is the whole point of baking for someone else. Make them with the knowledge that you're creating a tiny moment of joy for someone who's just accomplished something remarkable.
Common Questions About Recipes
- → How do I make the cap toppers stable on cupcakes?
Use melted chocolate or frosting as edible glue to attach each component firmly. Let them set before placing on the cupcakes.
- → Can I use alternatives for peanut butter cups in the toppers?
Yes, chocolate square candies can replace peanut butter cups to accommodate nut allergies.
- → What is the best way to store these cupcakes?
Store cupcakes in an airtight container at room temperature for up to two days to maintain freshness.
- → Can food coloring be added to the frosting?
Yes, adding food coloring to the buttercream allows customization to match school colors or party themes.
- → Are these cupcakes suitable for beginner bakers?
Absolutely, the straightforward batter mixing and frosting techniques, along with simple assembly steps, make this perfect for beginners.