 Save It
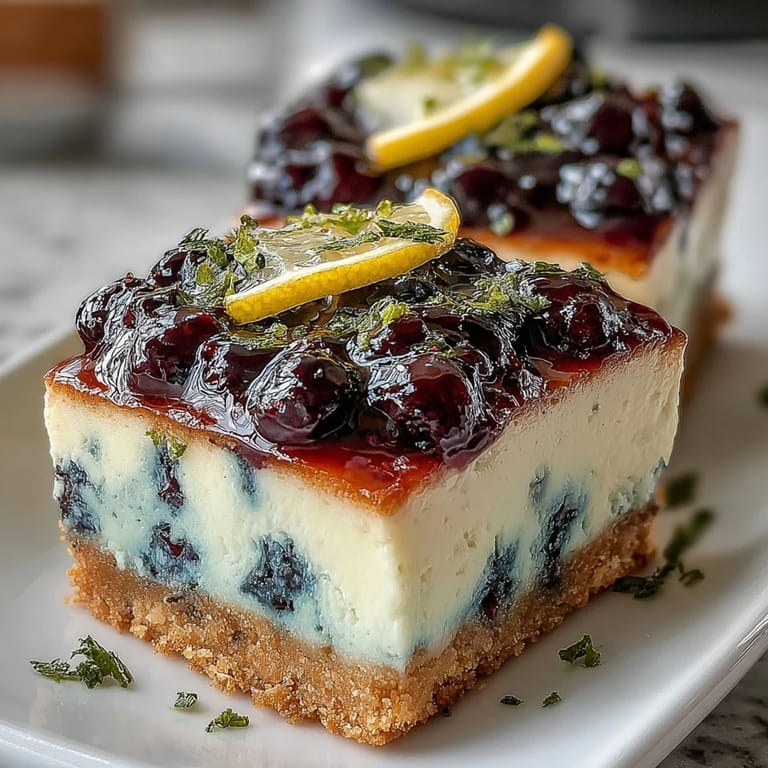
 Some afternoons in my kitchen just beg for a recipe that brings bright flavor with little effort, especially when the sun is high and the thought of turning on the oven is enough to make me wilt. That was exactly my mood when I first threw together these No-Bake Lemon Blueberry Cheesecake Bars, craving something cold, creamy, and tangy. I remember opening the fridge for the cream cheese and catching a whiff of fresh lemons I'd forgotten in the crisper. It felt like a little invitation to get creative. By the time the blueberry swirl was ready, I couldn't stop sneaking tastes straight from the saucepan.
One summer, these bars made their debut at a friend’s backyard birthday party, right as everyone was getting restless in the shade. Someone asked what was in them after the first bite, and before I knew it, almost every hand had found a square. Even the pan with the last lonely bar sparked a gentle debate over who’d get to finish it off.
Ingredients
- Graham crackers or digestive biscuits: Crushing them by hand adds rustic texture, and using fresh biscuits keeps the crust crisp.
- Unsalted butter: Melting the butter fully ensures your base sticks together and doesn’t crumble when sliced.
- Granulated sugar: Just a bit sweetens the base without overpowering it.
- Cream cheese: Letting it soften on the counter means your filling will be lump-free and smooth.
- Powdered sugar: Dissolves more easily into the filling than granulated, keeping everything silky.
- Heavy cream: Whipped cold, it brings irresistible lightness to the cheesecake layer.
- Lemon juice: Only fresh—bottled just isn’t the same for that lively kick.
- Lemon zest: Zest straight over the bowl to capture every fragrant oil.
- Pure vanilla extract: A little enhances the creamy filling and complements the berries.
- Fresh or frozen blueberries: Either works, but if using frozen, don’t thaw before cooking or it gets watery.
- Cornstarch: Mixed with water, it thickens the berry swirl to marble-like perfection.
Tired of Takeout? 🥡
Get 10 meals you can make faster than delivery arrives. Seriously.
One email. No spam. Unsubscribe anytime.
Instructions
- Prep Your Pan:
- Line your square baking pan with parchment, making sure there's enough overhang on the sides to lift everything out later without a mess.
- Make the Crust:
- Mix the crushed biscuits, melted butter, and sugar until all the crumbs glisten. Press it down firmly—really use your hands—so you get a solid, even base, then pop it into the fridge to chill.
- Blueberry Swirl Magic:
- Add blueberries, sugar, and lemon juice to a saucepan. Let the mixture simmer, and when it smells sweet and the berries burst, stir in the cornstarch slurry—keep stirring until it thickens. Let it cool completely before swirling it in.
- Cheesecake Filling:
- Beat the softened cream cheese and powdered sugar until the mixture is creamy smooth. Add lemon juice, zest, and vanilla, and blend again till everything smells fresh and tangy.
- Whip and Fold:
- Whip the cold heavy cream till it forms stiff peaks. Gently fold it into the cream cheese mixture, keeping as much fluff as possible for a light, airy filling.
- Assemble the Bars:
- Spread the cheesecake layer evenly over the chilled crust, smoothing the top with a spatula.
- Swirl in Blueberry Sauce:
- Spoon dollops of the blueberry sauce over the cheesecake. Swirl gently with a knife or skewer to create a lovely marbled effect—don’t overmix or you’ll lose the pattern.
- Chill Thoroughly:
- Cover your pan and refrigerate at least 4 hours, until completely set and easy to lift out.
- Slice and Serve:
- Use the parchment to lift everything out, then cut into neat squares. Serve cold, maybe garnished with a few fresh berries for color.
 Save It
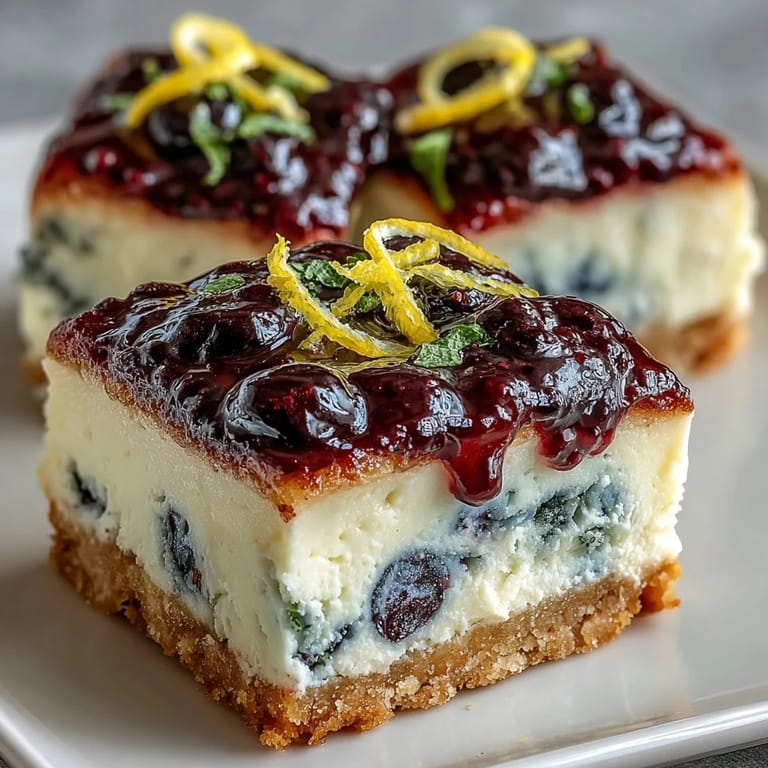
 One time, I made a batch for a picnic, and someone absentmindedly sang a tune while swirling the berries into the filling—a surprisingly relaxing moment, and the resulting swirl looked almost like musical notes. Ever since, making the marbled pattern feels less like a chore and more like a kitchen ritual that belongs to whoever's nearby.
Secrets to That Perfect Swirl
The swirl always feels like a gamble—too much and you lose the contrast, too little and it looks timid. I like to use the tip of a thin knife and work in gentle swoops instead of straight lines, moving slowly. Sometimes a second person swoops in for their own pattern, and that’s when the bars start looking even more impressive—or at the very least, unique. For a crisper effect, make sure the berry sauce has thickened and cooled until almost jammy before adding.
Keeping Things Light and Creamy
The trickiest part can be folding whipped cream into the cheesecake layer without deflating it. I learned to turn the bowl as I fold, scooping up from the bottom so every bit stays pillowy. If you rush, you’ll end up with a dense layer, but if you take your time, it stays almost mousse-like and yields the softest bars. It’s a simple step but makes all the difference in texture.
Serving and Storage Made Easy
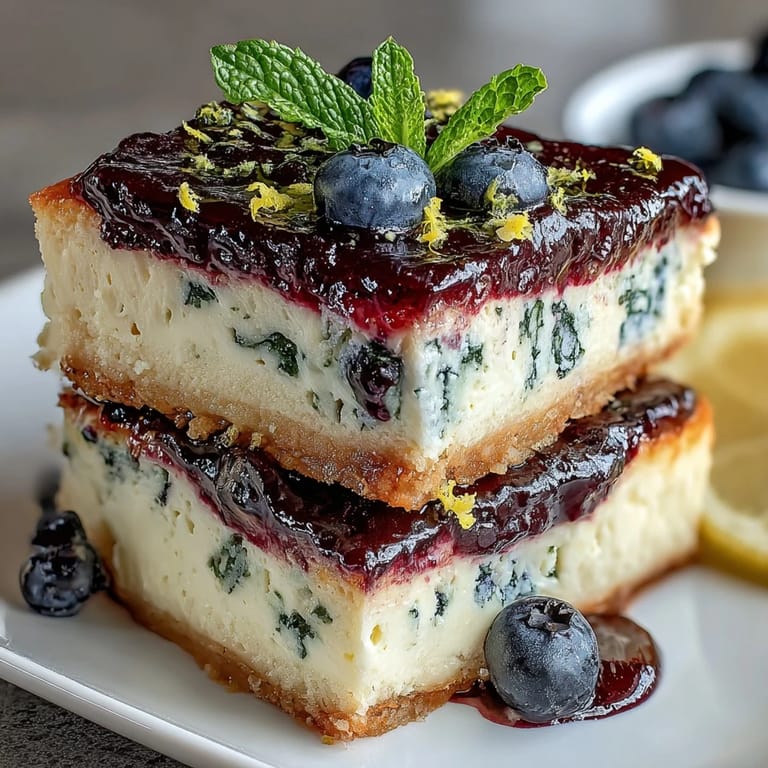
I've realized these bars are as happy on a buffet table as they are packed into a box for a road trip dessert. They keep well for several days when tightly covered in the fridge, and taste just as good chilled on day three as they do fresh. For extra flair, sprinkle lemon zest or edible flowers just before serving if you’re feeling fancy.
- Wait until just before serving to slice for the cleanest edges.
- Keep parchment lining—makes cleanup so much faster.
- Don’t skip extra lemon zest for an added citrus punch.
 Save It
 Cheesecake bars this bright and easy have become my best trick for feeding a crowd—no baking, no stress, just smiles. I hope they bring you the same bit of sunny delight, wherever you are.
Common Questions About Recipes
- → How do I ensure the bars set properly?
Chill the assembled bars for at least 4 hours, ideally overnight, until they are fully firm for easy slicing.
- → Can I use frozen blueberries for the swirl?
Yes, both fresh and frozen berries work well. Simmer until thickened for best marbling and flavor.
- → Is it possible to make these gluten-free?
Swap the biscuit base with gluten-free cookies to suit dietary needs, keeping all other steps the same.
- → How should I store the bars?
Keep the bars covered and refrigerated. They remain fresh for up to five days and can be served straight from the fridge.
- → What garnishes work well for serving?
Decorate with extra berries, lemon zest, or edible flowers for a beautiful presentation.
- → Can I make the blueberry swirl in advance?
Yes, prepare and cool the blueberry swirl ahead, then store it covered in the fridge until ready to assemble.