 Save It
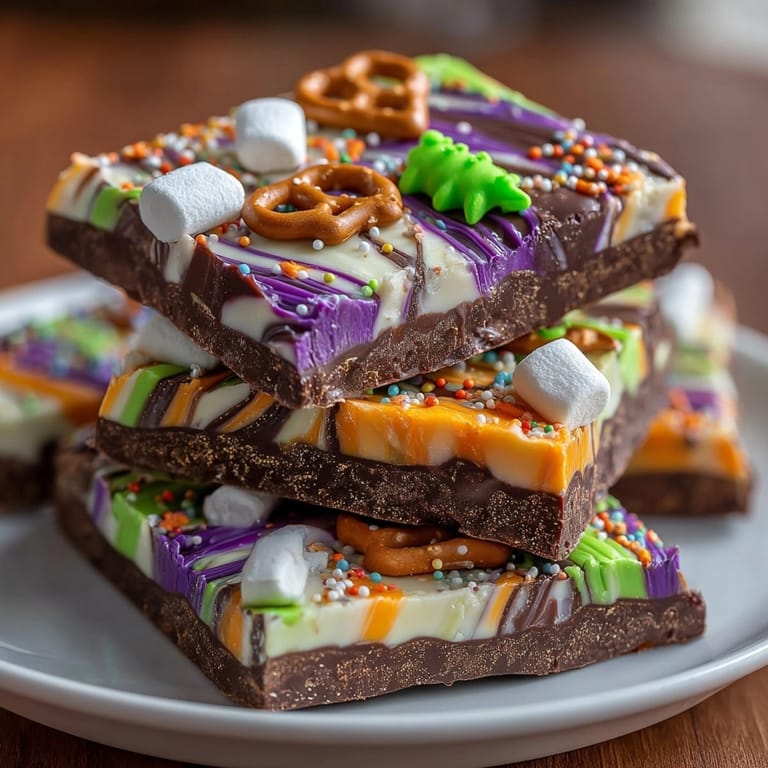
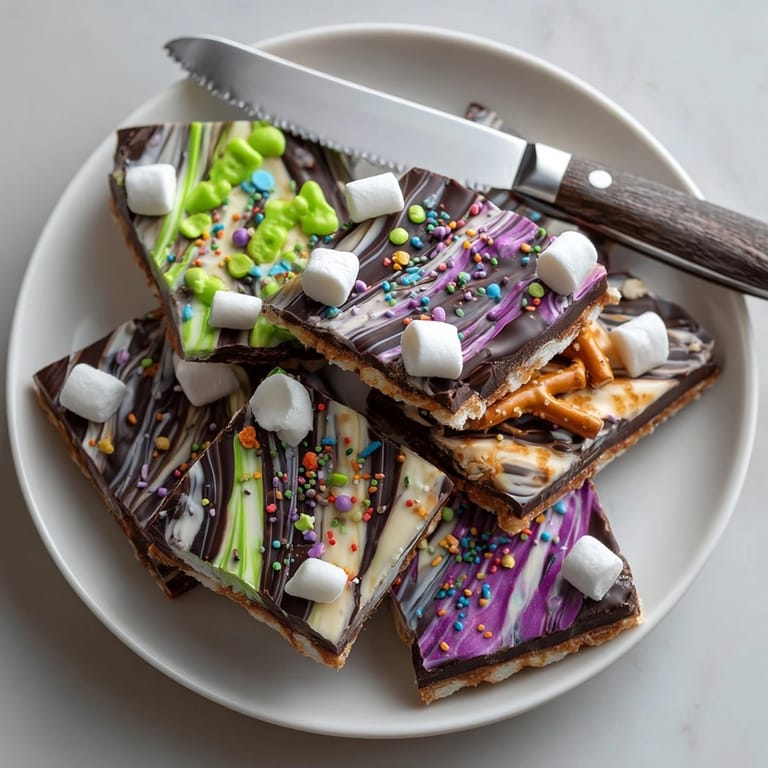
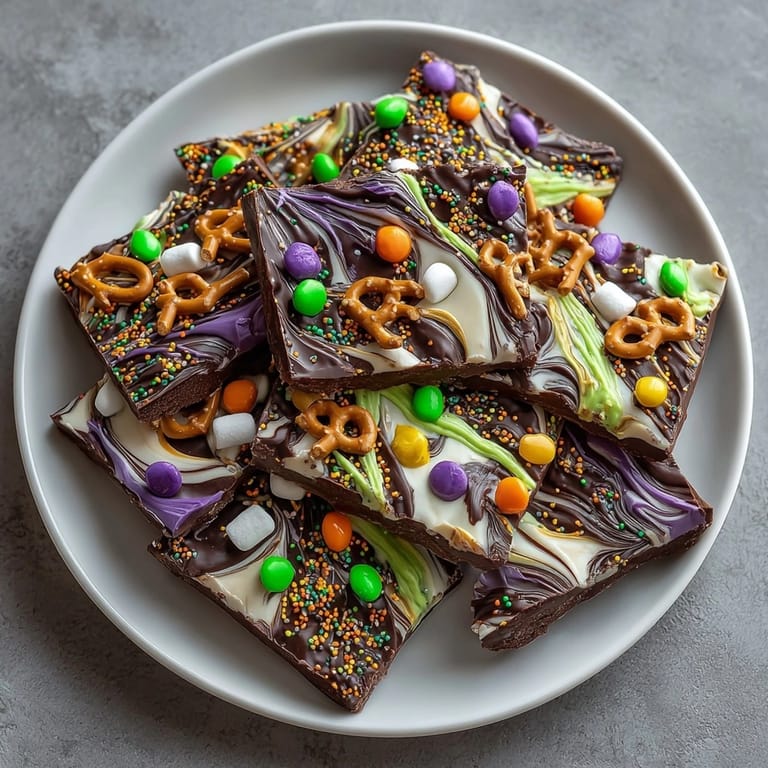
 This whimsical bark brings pure Halloween joy to my kitchen every autumn. Melted Witch Chocolate Bark is the kind of treat that kids love to help make and adults cannot resist snacking on. It is both a craft project and a festive dessert in one and layers dark and white chocolate with witchy swirls, colorful candies, and fun edible decorations.
The first batch I made got more laughs than any spooky cake ever. Since then it is become tradition for my nieces to design their own witch legs and shoes with the gummies each year.
Ingredients
- Chocolate base: choose the best-quality dark chocolate you can find for richer flavor and use white chocolate for contrast and marbling
- Green purple and orange candy melts: these add personality and color choose a brand with a creamy melt
- Mini pretzel sticks: crunchy texture and a fun way to shape broomsticks and witch legs
- Green gummy candies: candy store gummies with bold green color for cute shoes
- Halloween sprinkles: adds sparkle and drama choose mixes with shapes or colors that fit your party theme
- Edible glitter or sanding sugar: for magic and shimmer look for food-safe glitter in baking aisles
- Mini marshmallows: optional but they give softness and extra whimsy
Tired of Takeout? 🥡
Get 10 meals you can make faster than delivery arrives. Seriously.
One email. No spam. Unsubscribe anytime.
Instructions
- Prep Your Sheet:
- Line a baking sheet with parchment paper so your chocolate bark comes off smoothly later. Make sure the paper completely covers the base and edges.
- Melt the Chocolate:
- Place the dark chocolate and separately the white chocolate in microwave-safe bowls. Heat in short bursts stirring gently until each is silky smooth. Use medium power and stir after every 30 seconds to keep it from seizing.
- Melt Candy Melts:
- Melt green purple and orange candy melts in individual bowls following package instructions. Stir until glossy and thin enough to drizzle easily.
- Layer and Marble Chocolates:
- Pour the melted dark chocolate into a rectangle shape about eight by ten inches on the parchment paper and spread evenly with a spatula. Drizzle white chocolate over the top and swirl together with a toothpick or skewer gently making a marbled witchy pattern.
- Add Colorful Swirls:
- Drizzle candy melts over the top in lines and squiggles. Let colors blend a bit so you have streaks of green purple and orange for an enchanted effect.
- Create Witch Legs and Shoes:
- While chocolate is still melted quickly arrange pretzel sticks in pairs for legs and press green gummy candies at the ends for shoes. Give each witch her own pose or angle to add fun.
- Top with Decorations:
- Sprinkle Halloween sprinkles marshmallows and edible glitter across the bark. Get creative with patterns. Press decorations gently so they stay in place when the chocolate hardens.
- Set and Break:
- Let bark set at room temperature or pop the tray into the fridge for about thirty minutes until fully hard. Break into funky pieces with your hands or a sharp knife. It is ready to eat and serve.
 Save It
 My favorite part is swirling the colors and making the witch legs. One Halloween my youngest niece lined up a dozen witch feet in different directions so every piece looked like a new story. The laughter around the table when we break the bark is one of my best memories.
Storage Tips
Store the bark in a single layer or between parchment in an airtight container. Room temperature is best unless your kitchen gets warm then use the fridge. Too much heat can make the decorations sticky.
Ingredient Substitutions
Try milk or white chocolate instead of dark for a sweeter bark. Swap in gluten free pretzels or skip marshmallows if you prefer. You can use jelly beans or licorice bits for shoes for more flavor.
Serving Suggestions
Pile bark pieces on a Halloween platter or tuck them into treat bags for party favors. Works brilliantly as a centerpiece for dessert tables alongside caramel apples or ghost cupcakes.
Cultural and Historical Context
Chocolate bark has roots in classic American candy making but adding witchy designs brings modern festive flair. Halloween sweets have evolved from simple fudge to playful themed desserts that let families decorate and invent together. Every year my neighborhood exchange includes some version of bark decked out for the season.
Seasonal Adaptations
Try different colors for other holidays red and green at Christmas or pastels for spring celebrations. Swap out sprinkles for holiday themes like stars or snowflakes. Mix in seasonal nuts like roasted pecans or pumpkin seeds for extra crunch.
 Save It
 Make bark a day ahead for parties as flavors deepen and it holds shape better. Kids love making their own witch leg designs and one gave her own candy marshmallow hat for extra giggles.
Common Questions About Recipes
- → How do I get a marbled chocolate effect?
Pour dark and white chocolate in layers and swirl them together with a toothpick for a marbled look.
- → Can I use milk chocolate instead of dark?
Yes, milk chocolate works well and can be substituted for dark chocolate based on preference.
- → How do I set the bark quickly?
Place the decorated chocolate in the refrigerator for about 30 minutes to harden it faster.
- → What can I add for extra crunch?
Mix in chopped nuts or toffee bits before the chocolate sets for added texture and flavor.
- → How is witch imagery created in the treat?
Pretzel sticks paired with green gummies mimic whimsical witch legs and shoes on the bark.
- → How long does the bark stay fresh?
Store in an airtight container at cool room temperature; it stays fresh for up to a week.