 Save It
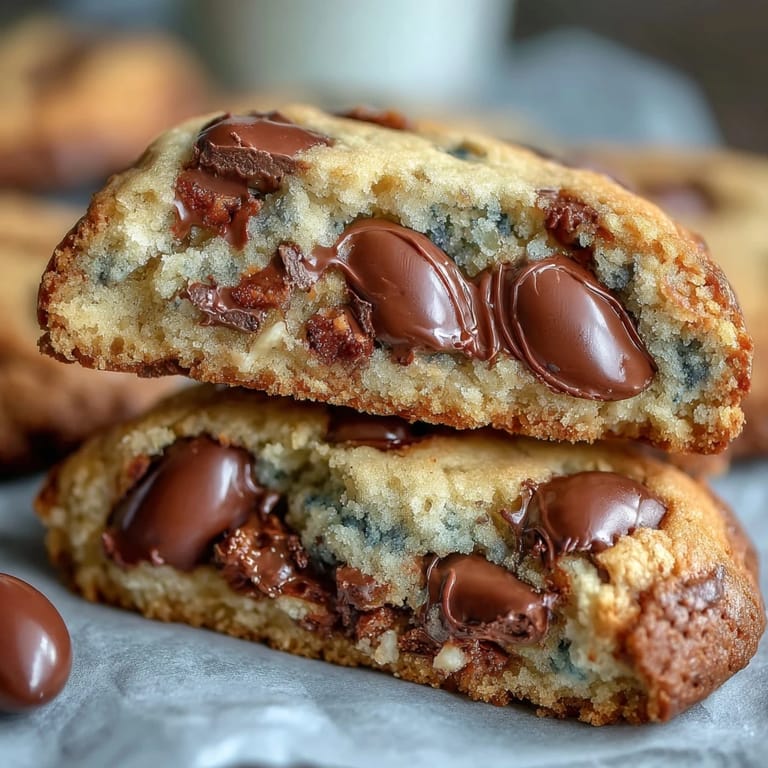
 My sister texted me a photo of these Cadbury egg cookie bars from some trendy bakery, and I spent twenty minutes staring at my phone thinking, I can absolutely make these better. There's something about the combination of soft, chewy cookie dough studded with those little chocolate eggs and pastel candies that just screams spring, even when you're baking them in the dead of winter on a random Tuesday. I tested the recipe three times because the first batch didn't have enough chocolate chunks, and honestly, that was the best kitchen mistake I've made all year.
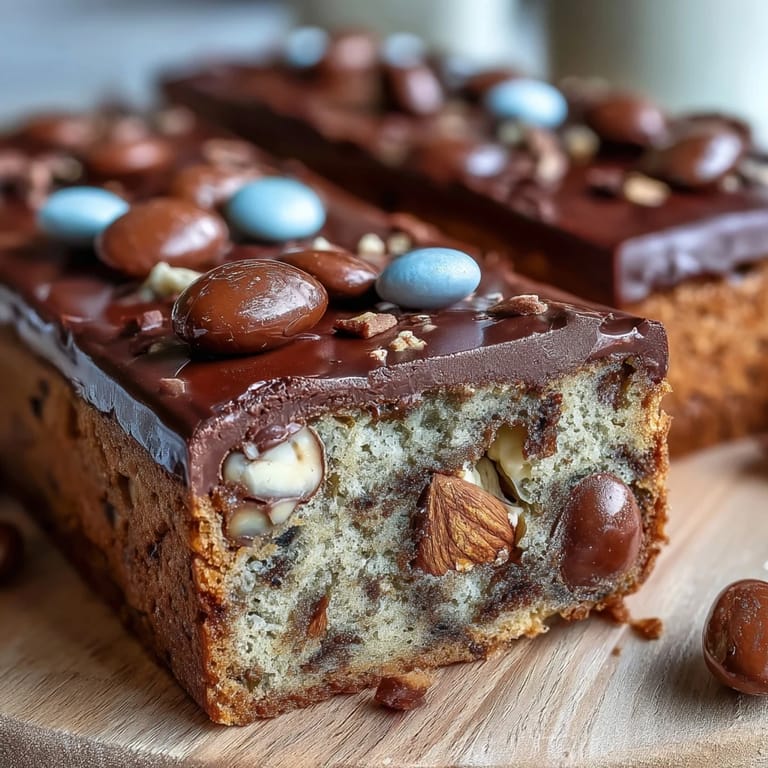
I made a double batch for my nephew's Easter party last year, and watching him and his cousins fight over the corner pieces (which have extra caramelization) made me realize these bars are about more than just taste. There was something magical about seeing a tray of these pastel-studded squares sitting on the dessert table, getting demolished within minutes while the kids actually sat still and talked to each other instead of scrolling through screens.
Ingredients
- All-purpose flour: Two and a quarter cups gives you structure without being dense; this ratio is what keeps the bars tender instead of cakey.
- Baking soda: One teaspoon is your secret to that perfect chewy center, so don't skip it or use baking powder instead.
- Salt: Half a teaspoon seems tiny, but it enhances the chocolate and balances the sweetness like nobody's business.
- Unsalted butter: Three-quarters cup melted and cooled slightly means you're creating a dough with real butter flavor, not that greasy texture you get from using oil.
- Light brown sugar: One cup packed—this is what makes these bars actually chewy because brown sugar has molasses that adds moisture.
- Granulated sugar: Half a cup cuts through the brown sugar's heaviness and keeps everything from tasting one-note.
- Eggs: Two large ones at room temperature mix smoother and incorporate air naturally, which lightens the whole batch.
- Vanilla extract: Two teaspoons pure vanilla (not imitation) because you'll taste the difference when the chocolate doesn't overpower everything.
- Cadbury mini eggs: One cup chopped because whole eggs get lost in the dough; chopped pieces distribute the chocolate throughout.
- Pastel M&Ms: Two cups total split between the dough and the topping, which gives you color both inside and outside.
Tired of Takeout? 🥡
Get 10 meals you can make faster than delivery arrives. Seriously.
One email. No spam. Unsubscribe anytime.
Instructions
- Set your stage:
- Preheat to 350°F and line your 9x13-inch pan with parchment paper, letting it overhang the sides so you can lift these babies out later without losing half your batch to the corners. This step takes two minutes and saves you thirty minutes of frustration.
- Combine the dry team:
- Whisk flour, baking soda, and salt together in a medium bowl, making sure there are no little clumps of baking soda hiding anywhere. Set it aside and don't second-guess yourself.
- Cream your butter and sugars:
- Pour your cooled melted butter into a large bowl with both sugars and whisk until the mixture looks smooth and creamy, about a minute or two. You're not using an electric mixer here because hand whisking gives you more control.
- Wake up your eggs:
- Add the eggs and vanilla to your butter mixture and whisk until you don't see any streaks of egg white anymore, which means everything's properly combined. This usually takes about a minute of solid whisking.
- Marry wet and dry:
- Fold your dry ingredients into the wet mixture using a spatula with slow, intentional strokes—overmixing develops gluten and makes things tough. Stop the second you don't see flour streaks anymore.
- Add the candy magic:
- Gently fold in your chopped Cadbury mini eggs and half of the pastel M&Ms, being careful not to crush the candies into tiny fragments. The way they stay whole matters more than you'd think.
- Spread and top:
- Pour the dough into your prepared pan and use a spatula to spread it evenly, then scatter the remaining M&Ms and a few extra mini egg pieces across the surface for looks. This step takes thirty seconds but makes your bars look like they came from somewhere fancy.
- Bake with intention:
- Bake for 23 to 26 minutes—the edges should be golden and the center should look just barely set, not jiggly but still soft. Underbaking by a minute or two gives you that perfect chew, so resist the urge to cook them until they look fully done.
- Cool completely:
- Let these sit in the pan for at least thirty minutes before lifting them out, because warm bars fall apart and you'll be cutting them with your fingers instead of a knife. Patience here means prettier presentation.
 Save It
 There's a moment when you pull these out of the oven and the whole kitchen smells like melted chocolate and buttered sugar—that's when you know you've made something worth the effort. My roommate came home mid-bake and literally just stood in the kitchen doorway waiting for them to cool, which is basically the highest compliment a baker can receive.
Storage and Shelf Life
These bars actually taste better the next day once the flavors have settled and the chocolate has completely set, so there's no rush to eat them all immediately. Keep them in an airtight container at room temperature for up to four days, and they'll stay soft and chewy the entire time.
Customization Ideas
Once you nail this recipe, you can swap the candy components without losing the magic—regular M&Ms work perfectly if you can't find pastels, and honestly, a mix of chocolate chips and crushed Easter chocolates creates a different kind of nostalgia. I've even made a version with white chocolate chunks and regular M&Ms for a friend who doesn't eat Cadbury products, and the texture stayed exactly the same.
Final Thoughts and Quick Reminders
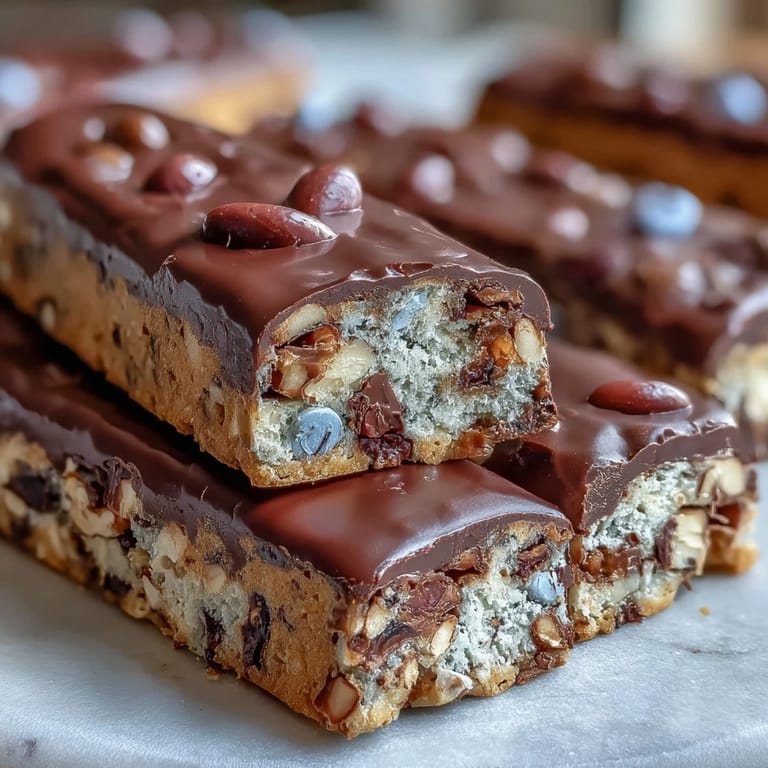
These bars prove that you don't need fancy equipment or complicated techniques to make something that feels special and tastes incredible. They're the kind of dessert that makes people ask for the recipe, and honestly, you'll probably remember exactly why when you bite into one. These bars live somewhere between a cookie and a brownie, hitting both cravings at once.
- Room temperature eggs really do mix in smoother, so pull them out of the fridge thirty minutes before baking if you have time.
- If your Cadbury eggs are frozen, thaw them completely and pat them dry with a paper towel before chopping so they don't shatter.
- The corner pieces will have extra caramelization and crunch, so cut those first and set them aside if someone in your crowd prefers them.
 Save It
 Make these when you want to feel like you've created something worthy of a bakery case, because honestly, you have. They're simple enough that even a beginner can nail them, but impressive enough that everyone will think you spent hours on them.
Common Questions About Recipes
- → What makes these bars soft and chewy?
The combination of melted butter, both brown and granulated sugars, and careful mixing helps achieve a soft, chewy texture.
- → Can I substitute the Cadbury mini eggs or pastel M&Ms?
Yes, mini chocolate eggs or regular M&Ms can be used as alternatives to maintain the flavor and texture balance.
- → How do I prevent the bars from overbaking?
Bake until edges are golden and the center is just set, about 23-26 minutes, to keep them soft and avoid overbaking.
- → What is the best way to store these bars?
Store the bars in an airtight container at room temperature for up to 4 days to maintain freshness.
- → Why is parchment paper recommended for baking?
Parchment paper prevents sticking and allows easy removal of the bars from the pan without breaking.