 Save It
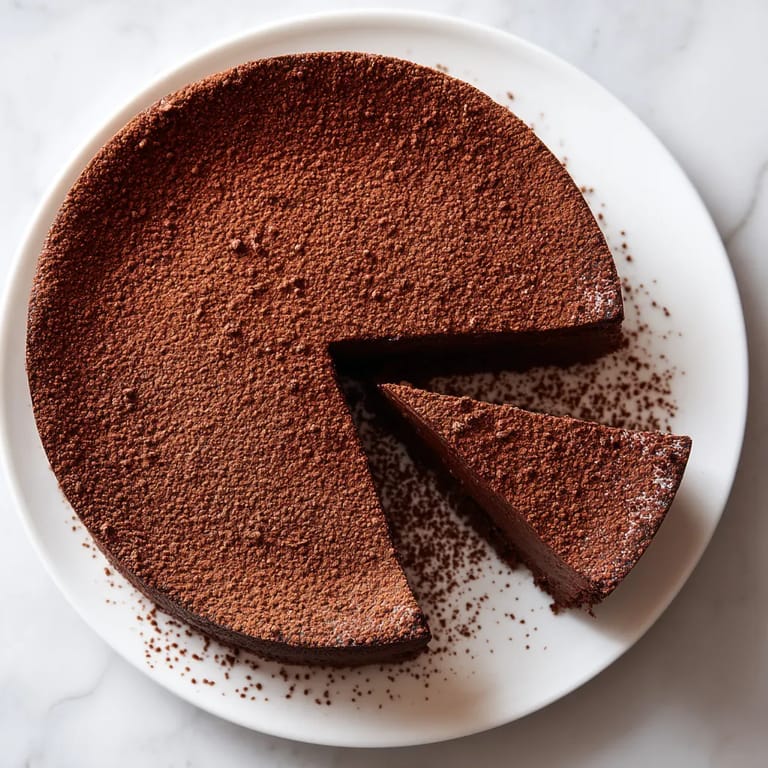
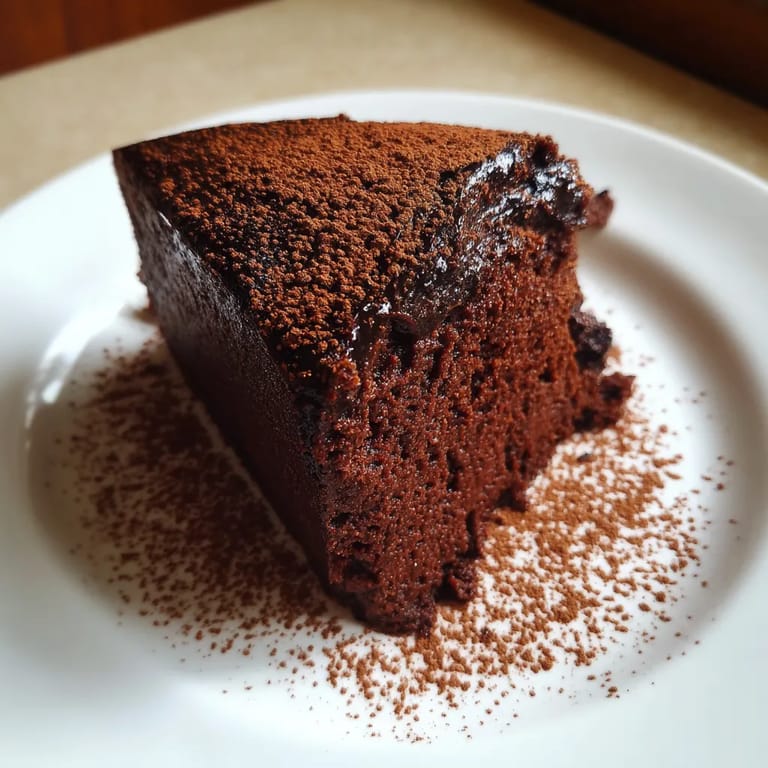
 This flourless chocolate truffle cake is pure heaven for serious chocolate lovers. Imagine the intense flavor and creamy bite of a chocolate truffle transformed into a cake you can slice and share. The magic is that it achieves all of this without any flour, making it naturally gluten-free and rich beyond belief.
I first baked this for a friend who cannot have gluten and it became an instant hit at every party afterward. The leftovers make midnight snacks absolutely irresistible.
Ingredients
- Eggs: These create structure for the cake and their volume is what gives the cake its signature creamy truffle texture. Fresh large eggs will whip up the best volume so check the dates on your carton.
- High-quality bittersweet or semisweet chocolate: The soul of this cake. Choose chocolate you love to eat on its own as that deep rich flavor shines. Take the time to chop it coarsely so it melts evenly and always opt for real chocolate bars over chips if you can.
- Unsalted butter: Adds silkiness and helps the chocolate set. Choose a good European style or high-fat butter for the best flavor.
- Strong black coffee or liqueur (optional): Coffee deepens the chocolate flavor or a splash of fruity liqueur like Grand Marnier adds complexity. Use freshly brewed coffee or your favorite liqueur if you want that extra kick.
- Confectioners sugar or unsweetened cocoa for dusting (optional): This is just for a little garnish on top so use whichever you prefer.
Tired of Takeout? 🥡
Get 10 meals you can make faster than delivery arrives. Seriously.
One email. No spam. Unsubscribe anytime.
Step-by-Step Instructions
- Prepare the Pan:
- Line the bottom of an eight inch springform pan with parchment paper and grease the sides completely. Wrap the outside of the pan in two layers of heavy duty foil to keep water out. Set this pan in a large roasting pan and preheat your oven to three hundred twenty five degrees Fahrenheit. Heat a kettle of water to boiling.
- Whip the Eggs:
- Crack eight cold large eggs into the bowl of a stand mixer and beat at high speed for around five minutes until the eggs nearly double in size. They should look thick frothy and pale yellow. This is the key to a light yet creamy crumb.
- Melt the Chocolate and Butter:
- Place the chopped chocolate and butter into a large heatproof bowl. If you are adding coffee or liqueur, pour that in too. Set the bowl over a pot of almost simmering water and stir occasionally until everything is smooth, glossy and very warm to touch, about one hundred fifteen degrees Fahrenheit. Alternatively use a microwave by heating the chocolate at half power for two minutes then adding butter and liquid, cooking at half power in one minute bursts until smooth.
- Fold in the Eggs:
- Scoop out a third of the whipped eggs and gently fold them into the warm chocolate mixture using a large rubber spatula. Use broad, gentle strokes from the bottom so you do not deflate the eggs. Once mostly blended, add half the remaining eggs in the same way, then finish with the last of the eggs. Stop as soon as there are no visible streaks.
- Bake the Cake:
- Pour the batter into the prepared springform pan and smooth out the top. Set the roasting pan with your cake into the hot oven. Carefully pour boiling water into the roasting pan so it comes halfway up the sides of the springform pan. Bake for twenty two to twenty five minutes until the cake has puffed slightly and a thin glazed crust has formed. An instant read thermometer inserted halfway in should read one hundred forty degrees Fahrenheit.
- Cool and Chill:
- Lift the cake out of the water bath and set it on a rack to cool to room temperature. Cover it once cooled and refrigerate for at least six hours or up to four days for best texture.
- Unmold and Serve:
- Remove the sides of the springform pan thirty minutes before you want to serve. Invert the cake gently onto a piece of wax paper, peel off the parchment, then flip onto your platter. Dust the top lightly with cocoa or confectioners sugar. Slice with a hot thin bladed knife for clean beautiful portions.
 Save It
 Every time I make this I find myself sneaking into the fridge for just one more sliver. The deep chocolate flavor comes through best when you use high quality chocolate so I always splurge for this bake. My family still talks about the first time we cut into the chilled cake and everyone paused in awe before digging in.
Storage Tips
Wrap any leftovers tightly in plastic or foil and store in the refrigerator for up to four days. The flavor actually deepens after a day or two. For longer storage, slice and freeze portions individually then thaw in the fridge overnight for a last minute dessert.
Ingredient Substitutions
You can swap bittersweet for semisweet chocolate based on your taste or use a blend of both. For a dairy free cake, use non dairy butter but note the flavor and texture will change. If you skip the coffee or liqueur just use a splash of hot water in the chocolate to help melt.
Serving Suggestions
This cake shines on its own or dusted with cocoa but it also pairs beautifully with tangy berries, whipped cream or a fresh fruit compote. For a party I serve it with a bowl of lightly sweetened creme fraiche to offset the richness.
Chocolate Truffle Cake Origins
Cakes like this are inspired by French flourless chocolate cakes and classic American chocolate decadence tortes. The water bath bakes the cake gently, creating that silky truffle like texture. It is a recipe cherished for special occasions and beloved by gluten free bakers everywhere.
Save It Common Questions About Recipes
- → What makes this cake flourless?
The absence of any wheat or grain flour creates a dense, creamy texture unique to chocolate and egg-based cakes.
- → Can I substitute coffee or liqueur?
Coffee deepens the chocolate flavor but is optional. If you prefer, omit or try a favorite liqueur for extra aroma.
- → Is this dessert suitable for gluten-free diets?
Yes, all listed ingredients are naturally gluten-free. Double-check packaged chocolate and cocoa labels if needed.
- → What’s the best way to slice it?
Use a thin-bladed knife warmed in hot water and wiped clean between cuts for smooth, tidy slices.
- → How should leftovers be stored?
Keep the cake covered in the refrigerator for up to four days. Serve slightly chilled or at room temperature.
- → Can I add toppings?
Finish with a dusting of cocoa powder, confectioners' sugar, or garnish with berries or whipped cream if desired.