 Save It
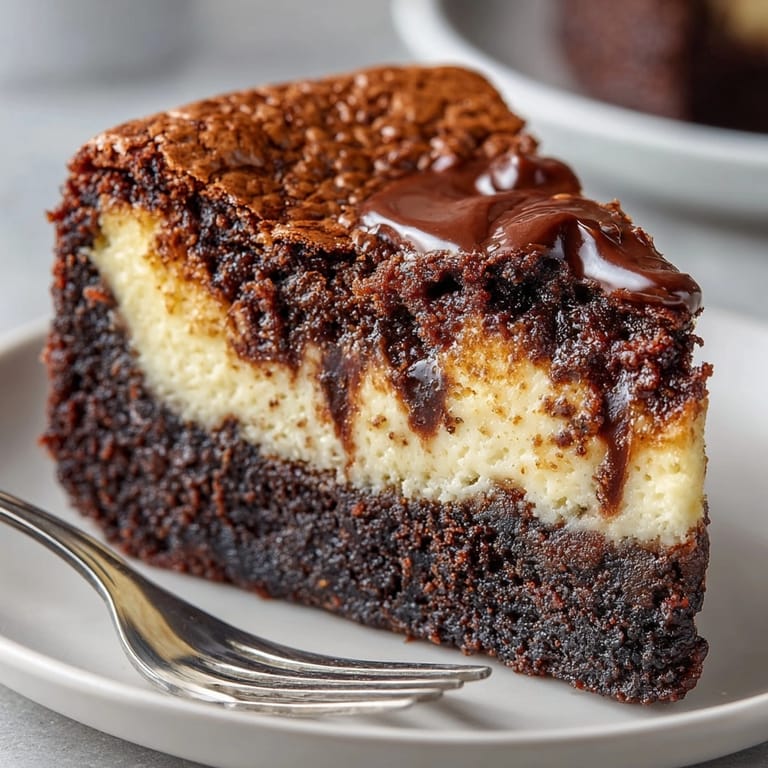
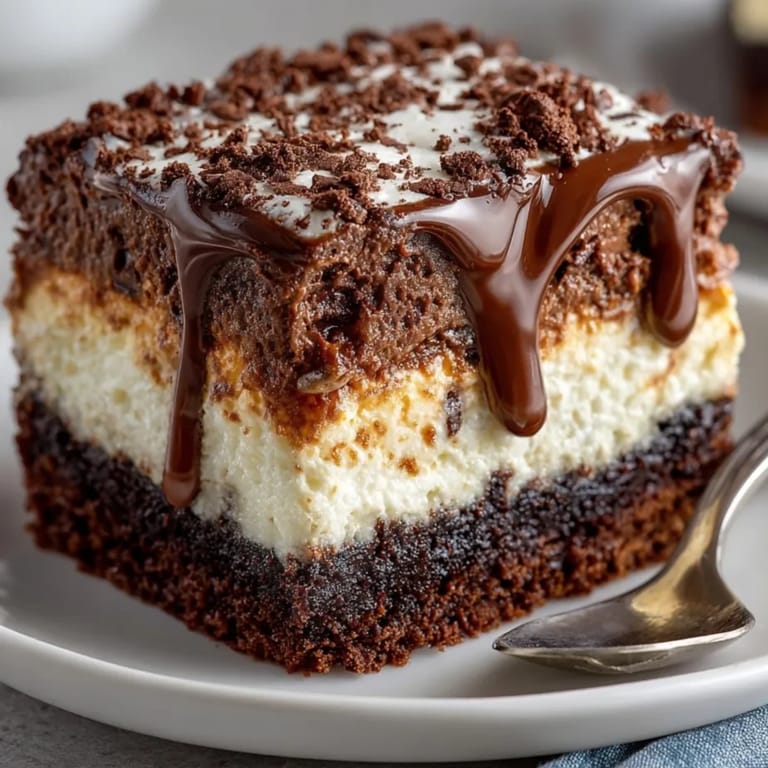
 An irresistibly decadent dessert Black Magic Gooey Cake promises a fudge-like chocolate explosion with every bite The combination of silky cream cheese and a deeply chocolatey base creates a dramatic center and a crackly top that wins over both kids and adults This is the cake I make for birthdays and holidays and it reliably vanishes fast from the table
This cake became my weekend tradition after my friend begged for something ultra-rich and chocolatey I was shocked how easy it was and I have since brought it to potlucks where it always steals the spotlight
Ingredients
- Granulated sugar: gives structure and sweetness Choose fine-grained sugar for smooth batter
- All-purpose flour: forms the backbone and keeps the cake tender Measure with care for a soft crumb
- Unsweetened cocoa powder: delivers deep chocolate flavor Opt for Dutch-process for added richness
- Baking powder and baking soda: help the cake rise use fresh lump-free powders
- Salt: lifts flavors and balances the sweet
- Eggs: hold things together and moisture is added through buttermilk for extra tenderness Room temperature eggs will blend better
- Vegetable oil: ensures moistness Use a neutral oil so the chocolate shines through
- Vanilla extract: brings warmth and rounds out flavors Real vanilla makes a huge difference
- Hot coffee: enhances the chocolate and creates a glossy batter Don’t skip this the warmth and bitterness are essential
- Cream cheese: creates a luscious gooey top Use full-fat for richness Check for freshness and softness for easy blending
- Unsalted butter: gives that silky mouthfeel and lets you control the saltiness
- Powdered sugar: makes the gooey layer super smooth Sift for zero lumps
- Extra cocoa powder and vanilla in the gooey layer: for bonus chocolate intensity
- A pinch more salt: keeps everything balanced
Tired of Takeout? 🥡
Get 10 meals you can make faster than delivery arrives. Seriously.
One email. No spam. Unsubscribe anytime.
Instructions
- Prepare the Pan:
- Grease a 9x13-inch baking pan thoroughly then line with parchment paper leaving overhang at the edges This makes removal and slicing easier and avoids sticking
- Mix Dry Ingredients:
- In a large bowl vigorously whisk together sugar flour cocoa powder baking powder baking soda and salt Ensure everything is evenly distributed to prevent clumps later
- Blend Wet Ingredients:
- Add eggs buttermilk oil and vanilla extract directly to the dry mix Use a whisk or mixer and blend until no streaks remain The batter will look thick and glossy
- Add Hot Coffee:
- Slowly pour in hot coffee stirring as you go The heat opens up the cocoa’s flavor and the mixture will loosen and take on a silky finish It should be pourable not stiff
- Assemble the Cake Base:
- Pour the smooth batter into your prepared pan Use a spatula to even out the surface making sure batter reaches corners
- Make the Gooey Layer:
- In another clean bowl beat together softened cream cheese and butter until perfectly creamy This step is crucial for smoothness
- Add Eggs:
- Crack in eggs one by one beating after each to ensure full incorporation Your mixture should look light and fluffy
- Sift Dry Ingredients into Gooey Layer:
- Carefully sift powdered sugar and cocoa powder over the creamy mixture Sprinkle in vanilla and salt Beat together until fully smooth and airy Avoid lumps for the best texture
- Layer and Bake:
- Using a spoon gently dollop and spread the gooey mixture on top of the cake batter Do not press just encourage an even layer
- Bake to Perfection:
- Transfer to your preheated oven and bake for 32 to 38 minutes Watch for edges to set while the center remains a little wobbly That’s what creates the gooey finish
- Cool and Serve:
- Let the cake cool completely in the pan for structural stability Slice generously and serve at room temperature or slightly warmed for peak gooeyness
 Save It
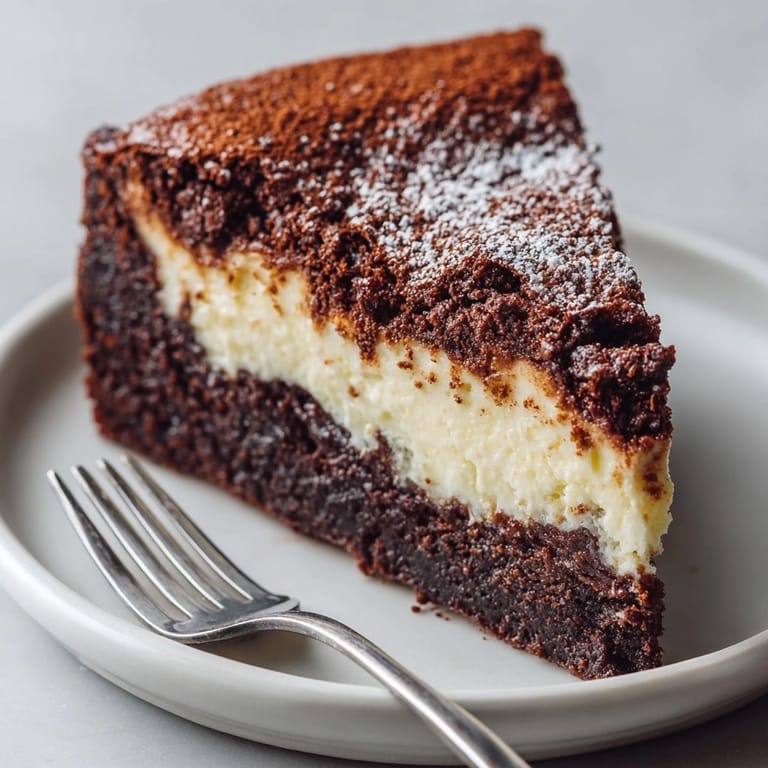
 My favorite ingredient is that hot coffee because it transforms the cocoa and wakes up the whole cake I have baked this as a late-night treat and the scent alone brings my family running to the kitchen with plates in hand The memory of serving the first slice is pure joy every time
Storage Tips
Store any leftovers tightly covered in the fridge for up to five days The texture actually improves after a day chilling Warm a piece for fifteen seconds in the microwave just before serving for a freshly baked feel
Ingredient Substitutions
Swap buttermilk for one cup milk with a splash of lemon juice if you do not have buttermilk on hand Use full-fat Greek yogurt for the cream cheese in a pinch For boldness try espresso instead of coffee
Serving Suggestions
Pair slices with cold whipped cream or a scoop of vanilla ice cream Fresh berries bring brightness to the richness I like to add a drizzle of salted caramel for over-the-top indulgence
Cultural and Historical Context
Gooey cakes are a beloved American tradition especially in Southern kitchens Combining cream cheese with chocolate harks back to boxed cake hacks from the mid-20th century This version is a celebration of home-baked comfort
Seasonal Adaptations
In summer top with berries for a tart counterpoint In colder months layer a sprinkle of cinnamon into the cocoa for warmth Serve warmly when it’s chilly for extra cozy vibes
 Save It
 Leftover cake keeps extraordinarily well and is just as gooey on day two Enjoy every chocolate-loaded bite
Common Questions About Recipes
- → What makes the center stay gooey?
The gooey texture comes from underbaking the center slightly, using a rich cream cheese and butter mixture layered over the chocolate base.
- → Can I use espresso instead of coffee?
Yes, espresso can replace coffee for an even richer, more intense chocolate flavor in the cake batter.
- → Is this dessert suitable for vegetarians?
Yes, this dish is vegetarian-friendly. It contains no meat ingredients, just eggs and dairy.
- → How should it be served?
Serve at room temperature or slightly warm. Add whipped cream or ice cream for extra indulgence.
- → Can I add extra toppings?
Chocolate chips, chopped nuts, or a dusting of cocoa powder are perfect choices for additional texture and flavor.
- → What allergens are present?
This dessert contains eggs, dairy (cream cheese, butter, buttermilk), and gluten. Always check ingredient labels.