Save It
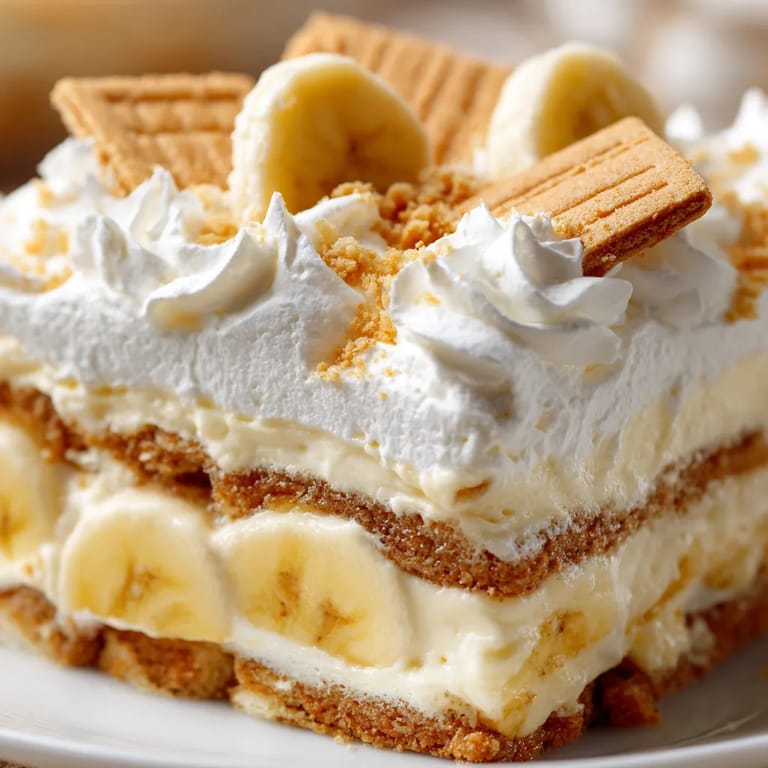
 Banana pudding is the kind of dessert that steals the show at any family gathering. Creamy vanilla custard soaks into crispy wafers while bananas mellow and blend beautifully, all beneath a pillow of sweet whipped cream. It is pure comfort in a bowl and brings everyone running back for seconds. I made this for the first time after tasting a spoonful at a friend’s house and could not believe something so nostalgic could also taste so deeply satisfying.
Ingredients
- Granulated sugar: Brings sweetness to the custard and helps with a smooth texture. Use white granulated sugar for the cleanest taste
- Cornstarch: Creates the pudding’s silkiness and gives a thick consistency. Choose a fresh box with clump-free powder
- Salt: Sharpens all the pudding flavors. Just a pinch makes the sweet pop
- Whole milk: Adds creaminess and mouthfeel. Go for full-fat for the best result
- Large egg yolks: Create richness and classic pudding feel. Choose eggs with golden yolks for extra color
- Unsalted butter: Delivers flavor and smoothness. Make sure it is real butter and not a blend
- Pure vanilla extract: Rounds out the flavor. Opt for a good quality pure extract
- Nilla wafers: Are the classic Southern cookie base. Crisp and lightly sweet go for a fresh sealed box
- Ripe bananas: Give sweetness and the signature banana flavor. Choose skins with plenty of speckling but not black
- Heavy whipping cream: For the soft pillowy topping. Use high-fat cream for best whip
- Powdered sugar: Sweetens the whipped cream. Choose fine texture for dissolving
- Vanilla extract: Goes into the whipped cream too for one last aromatic layer. Choose the same high-quality vanilla as the pudding
Step-by-Step Instructions
Tired of Takeout? 🥡
Get 10 meals you can make faster than delivery arrives. Seriously.
One email. No spam. Unsubscribe anytime.
- Make the Pudding:
- Whisk together sugar, cornstarch, and salt in a saucepan until evenly combined. Next, gradually whisk in the whole milk until the mixture is absolutely smooth and lump-free
- Temper the Egg Yolks:
- In a separate small bowl, beat the egg yolks with a fork until blended. You want them ready so you can move quickly without lumps once tempering
- Cook the Pudding Base:
- Place the saucepan over medium heat and whisk constantly. As it heats up, the mixture will slowly thicken. After about six to eight minutes, look for it to start bubbling and getting visibly thicker
- Combine with Egg Yolks:
- Slowly drizzle about half a cup of the hot milk mixture into your egg yolks, whisking non-stop to prevent cooking the eggs. You want a silky blend without scrambled bits. Then pour this yolk mixture back into the saucepan and whisk to combine thoroughly
- Finish and Add Flavorings:
- Reduce heat to low and continue stirring for two more minutes. The pudding should be thick and glossy. Remove from the heat, stir in the butter and vanilla until melted and fully mixed
- Cool the Pudding:
- Pour the hot pudding into a bowl. Press plastic wrap directly against the surface to avoid a skin forming. Let it cool fully at room temperature or chill it for quicker assembly
- Prepare the Dish:
- Layer the bottom of your serving dish with Nilla wafers. Arrange banana slices on top in an even layer. Cover with about a third of the cooled pudding, spreading it right out to the edges
- Repeat the Layers:
- Continue layering more wafers, bananas, and pudding until you have three layers of each. You should end with a generous layer of custard
- Whip the Cream:
- In a clean mixing bowl, combine heavy cream, powdered sugar, and vanilla. Whip with a mixer on medium-high until soft peaks form. It should look pillowy and hold its shape
- Top and Finish:
- Spread or pipe whipped cream over the assembled pudding. Make sure every edge is covered so nothing dries out. Garnish with more banana slices and a handful of crushed Nilla wafers if you like
- Chill and Serve:
- Cover and refrigerate for at least two hours. This is what gives the wafers their cake-like soft bite and brings all the flavors together
 Save It
 Keep banana pudding tightly covered with plastic wrap or a lid to prevent absorbing fridge odors. Always refrigerate leftovers and enjoy within two days for optimum texture. Bananas may brown over time but the flavor remains sweet and mellow. You can also pre-slice and add a very thin layer of lemon juice to the banana slices before layering to help prevent too much browning.
Ingredient Substitutions
If you are out of Nilla wafers, swap in graham crackers, vanilla sponge cake, or even shortbread cookies. For a dairy-free version, unsweetened almond milk and plant-based whipped topping work just fine. You can substitute coconut sugar for a deeper sweetness if you like.
Serving Suggestions
Banana pudding is often served chilled straight from the fridge but you can dress it up with a dusting of cinnamon or even toasted coconut. Serve in individual jars for a picnic or layer in a punch bowl for a more dramatic look.
Cultural Context
This dish traces its roots through Southern American kitchens where women would layer pudding, bananas, and cookies before refrigeration was widespread. It has since become a dessert table icon across the country. Served at potlucks, church suppers, and family holidays, banana pudding offers an edible glimpse into regional hospitality and homey comfort.
Save It Common Questions About Recipes
- → How ripe should the bananas be?
Choose just-ripe bananas that are yellow with minimal brown spots. Overripe bananas can become mushy in the layers.
- → Can I make banana pudding ahead of time?
Yes, assemble the dessert up to 24 hours before serving. Chill thoroughly for flavors to meld. Bananas may brown slightly but taste remains excellent.
- → How do I prevent the bananas from browning?
Layer the bananas between pudding and wafers to minimize air contact. Serving soon after assembly or adding a touch of lemon juice can also help.
- → Is homemade pudding necessary?
Homemade pudding delivers the best texture and flavor, but store-bought vanilla pudding can be used for convenience.
- → What other cookies can replace Nilla wafers?
Try ladyfingers, shortbread, or graham crackers for different textures and flavors in the layers.