 Save It
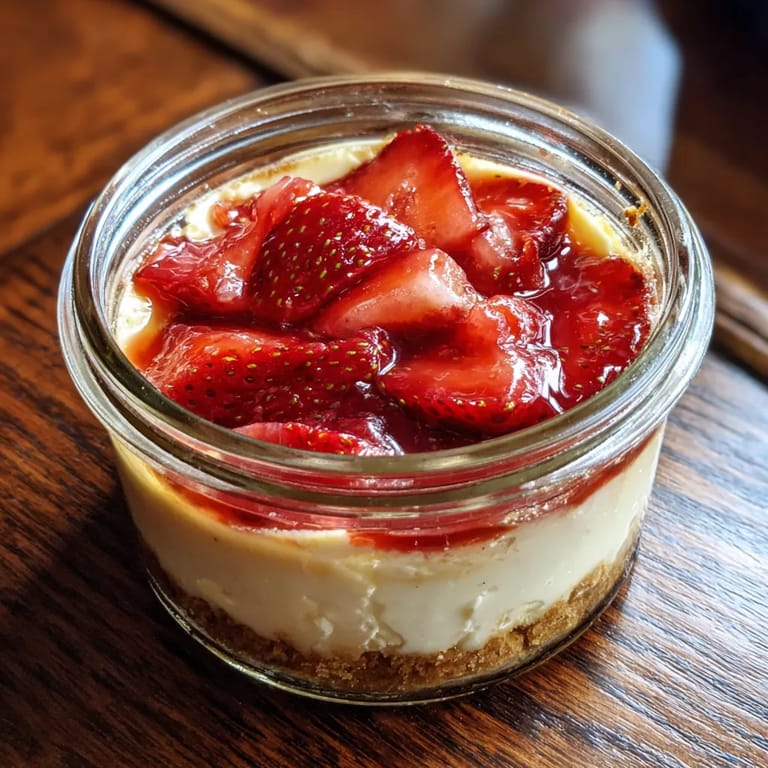
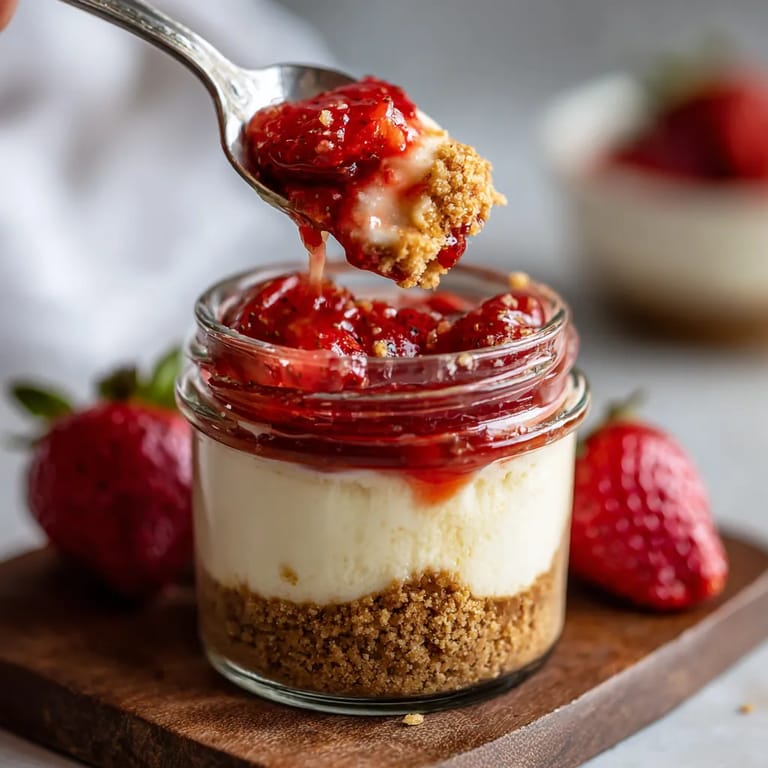
 This creamy no-bake strawberry cheesecake comes together with almost no effort and delivers a velvety smooth filling topped with a glossy, jammy strawberry sauce. Served in jars or as a show-stopping slab, it is a breezy yet elegant treat everyone clamors for all summer long. When fresh strawberries arrive at the farmers market, this is one of the first desserts I break out—especially when I do not want to fuss with the oven.
The first time I tested this on an extra humid day I could not believe how quickly it set up in the fridge without losing any creaminess. It vanished within minutes and is now my go-to for every birthday or picnic.
Ingredients
- Graham cracker crumbs or digestive biscuits: Provide a crisp, sweet crust and hold up well beneath the creamy filling. I always check that crumbs are golden and smell fresh for the best flavor
- Unsalted butter: Brings the crust together and adds richness. I use a good quality European-style butter if I want a more decadent texture
- Granulated sugar: In the crust sweetens and helps everything stick
- Cream cheese: Gives the filling its signature tang and lush texture. Let it come to room temperature for the smoothest mixture
- Heavy cream: Is whipped to gentle peaks before folding in, making the filling extra airy. Use very cold cream for easy whipping
- Powdered sugar: Brings just the right sweetness without any grit and blends smoothly
- Vanilla extract: Deepens the flavors. Pure vanilla gives the most delicious aroma
- Lemon zest: A little brightness lifts all the flavors without tasting overtly lemony and is especially nice with very sweet strawberries
- Fresh strawberries: Are the star of the topping. Look for berries with shiny skin, bright green tops, and a fragrant scent
- Granulated sugar: In the topping forms a syrup with the strawberries and helps preserve their color
- Lemon juice: Brings out the fruit’s natural flavor and keeps the topping nicely balanced and not too sweet
Tired of Takeout? 🥡
Get 10 meals you can make faster than delivery arrives. Seriously.
One email. No spam. Unsubscribe anytime.
Step-by-Step Instructions
- Make the Crust:
- Combine graham cracker crumbs with melted butter and sugar. Mix until it resembles damp sand with all crumbs evenly moistened. This will ensure your crust holds together when sliced or scooped
- Press and Chill:
- Firmly press the crumb mixture into the bottom of your jars or a springform pan. Spend an extra minute here compacting the crumbs for a sturdy base. Refrigerate while the filling is prepared so it sets up
- Mix Cream Cheese Base:
- In a large bowl, beat softened cream cheese until smooth with no lumps. Add powdered sugar, vanilla, and lemon zest if using. Beat until creamy and fully combined for at least two minutes to ensure a satiny consistency
- Whip Cream and Fold:
- In a separate cold bowl, whip the heavy cream to stiff peaks with a hand mixer. Gently fold one third of the whipped cream into the cheesecake base to lighten it. Then add the rest, carefully folding until no streaks remain. This gentle approach keeps the filling cloud-like and airy
- Assemble Filling:
- Spoon or pipe the cheesecake mixture evenly over the chilled crust. Smooth the tops for a neat presentation if serving in jars or pan. Make sure to fully cover the crust so every bite has both layers
- Chill Thoroughly:
- Refrigerate the assembled cheesecake for at least four hours. A long rest helps everything set to sliceable perfection and allows the flavors to meld
- Cook Strawberry Topping:
- While the cheesecake chills, combine strawberries, sugar, and lemon juice in a small saucepan. Simmer gently over medium heat until the fruit softens and the syrup thickens, about five to seven minutes. Stir frequently and let cool completely to thicken further before topping the cheesecake
- Add Topping and Serve:
- Right before serving, spoon the cooled strawberry topping generously over the cheesecake. If using a pan, slice cleanly with a hot knife or simply dig in with a spoon if serving in jars. Keep chilled until ready to enjoy
 Save It
 I love the way freshly picked strawberries transform into a jewel-red sauce for this cheesecake especially when the dessert is served at a sunny picnic with friends. My mom always made this with whatever berries were ripe and it was the highlight of our family gatherings every year.
Save It Storage Tips
This cheesecake keeps beautifully for up to three days in the refrigerator. If you are making it ahead wait to add the strawberry topping until just before serving so the crust stays crisp. You can store the sauce and assembled cheesecakes separately in well sealed containers. Always keep chilled for freshest flavor and texture
Ingredient Substitutions
You can swap graham crackers for gluten free cookies or vanilla wafers if you have dietary needs or just want to change things up. If strawberries are not in season try raspberries blueberries or any berry you love. Light cream cheese works if you are watching calories but the texture will be slightly less creamy
Serving Suggestions
Serve in small jars for easy portioning at a party or layer in glasses for a fancier look with whole berries on top. For special occasions dust with powdered sugar and tuck in a sprig of mint. This cheesecake also pairs perfectly with sparkling wine lemonade or iced tea
A Little History
No bake cheesecakes have been a beloved American treat since at least the 1950s when quick set desserts became popular in home kitchens. They were a cool clever answer to warm summer days and busy schedules and one of the first recipes I ever made with my grandmother
Common Questions About Recipes
- → Can I use frozen strawberries for the topping?
Yes, you can substitute frozen strawberries. Thaw and drain them first, then cook as directed to achieve a syrupy topping.
- → How far in advance can this dessert be made?
The cheesecake can be prepared a day ahead. For best texture, add the strawberry topping just before serving.
- → Is there a gluten-free option for the crust?
Absolutely. Replace graham crackers with gluten-free biscuits for a delicious gluten-free base.
- → Can I use a stand mixer instead of a hand mixer?
Either type of mixer works well for the filling. Mix until smooth and creamy for best results.
- → What’s the best way to serve individual portions?
Layer the crust and filling into small jars or glasses for effortless single servings and easy presentation.