 Save It
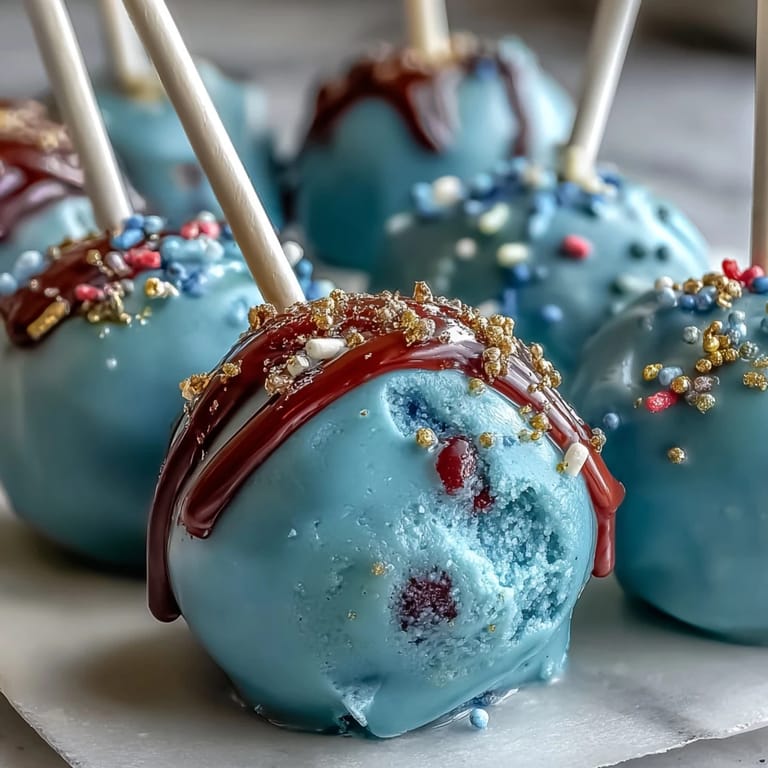
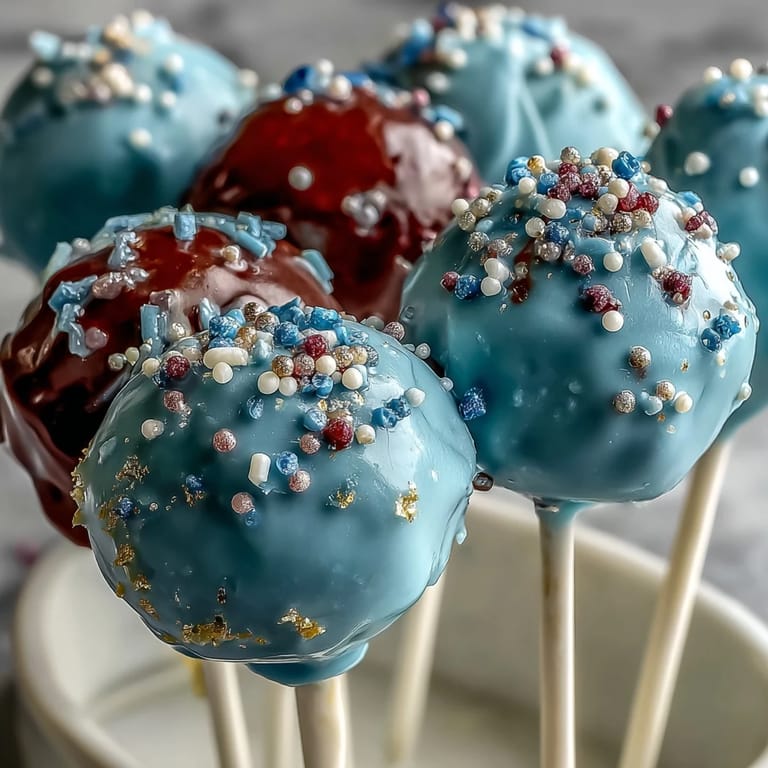
 When the kitchen was suddenly filled with laughter and flecks of gold glitter, I knew these graduation cake pops would be part of the celebration. The smell of warm cake seemed to mingle with my anticipation as I mixed up the colors, imagining the excitement in everyone's eyes. Trying to get the right shade for the school colors was half the fun, and I found myself running to the pantry for another bag of candy melts more than once. A stray sprinkle, a little frosting on my sleeve—these are the tiny marks of a late-night session preparing for the big day. There’s something magical about turning simple cake and frosting into festive, bite-size treats for a milestone moment.
One year, I made these for my cousin’s graduation, and as I dipped each pop into candy melts, she hovered nearby, critiquing my color choices with playful banter. The kitchen was busy—the mixer whirring, our music louder than usual, and our nerves tingling from excitement. We joked about imperfectly round cake pops, making them our own little “class of 2024” instead. When we finished, she insisted I tie tiny ribbons on each stick, and that small addition transformed the pops into special keepsakes. The real challenge was resisting eating them before the party even started.
Ingredients
- Vanilla or chocolate cake mix: Using a boxed mix saves time, but I learned that letting the cake fully cool before crumbling is key for texture.
- Unsalted butter: Softening it makes the frosting silky and easier to blend with the cake.
- Powdered sugar: Sifting helps avoid lumps in the frosting for the smoothest cake pop filling.
- Milk: Just enough—too much can make the frosting runny, so add slowly.
- Vanilla extract: A dash brings out the cake’s sweetness and makes the frosting feel homemade.
- Salt: Only a pinch, but it balances the frosting and keeps it from tasting flat.
- Candy melts in school colors: The color options are endless—pick colors boldly for instant school spirit.
- Vegetable shortening or coconut oil: This extra step makes the coating shine and not seize up.
- Gold sprinkles or edible gold glitter: They add festive sparkle and elevate the look in seconds.
- Lollipop sticks: Steady hands help here; the sticks are what turn cake into portable pops.
- Styrofoam block: Essential for upright drying, ensuring pops keep their perfect shape.
Tired of Takeout? 🥡
Get 10 meals you can make faster than delivery arrives. Seriously.
One email. No spam. Unsubscribe anytime.
Instructions
- Bake Up the Cake:
- Mix up the box according to instructions, pour into a pan, and let the sweet aroma fill the kitchen as it bakes. Cool completely before moving on—you'll thank yourself later.
- Whip the Frosting:
- Beat the butter until creamy, gradually blend in powdered sugar, then add milk, vanilla, and salt. Smear a tiny taste on your finger—it should be fluffy, not gritty.
- Crumble and Combine:
- Break the cooled cake into a big bowl, then mix in frosting little by little until it feels just sticky enough to hold together. Don't rush—getting the texture right is worth it.
- Shape the Balls:
- Roll the mixture into 24 small spheres and line them up on parchment, checking for even sizes. Chill them for at least an hour so they'll be sturdy when coated.
- Stick Prep:
- Melt a spoonful of candy melts, dip the end of each stick, and push halfway into each ball. This glue trick keeps pops from slipping off.
- Dip & Color:
- Melt the candy melts in two bowls, stirring in shortening until smooth, then dunk each pop and gently tap off excess. Alternate colors to build a fun display.
- Glitter & Dry:
- While the coating is still wet, sprinkle gold glitter so it adheres, then place sticks upright in the Styrofoam. Let them set until completely hard.
- Serve or Store:
- Once the pops are firm, arrange on a tray or wrap individually for gifting. Enjoy them during the celebration—they'll disappear fast!
 Save It
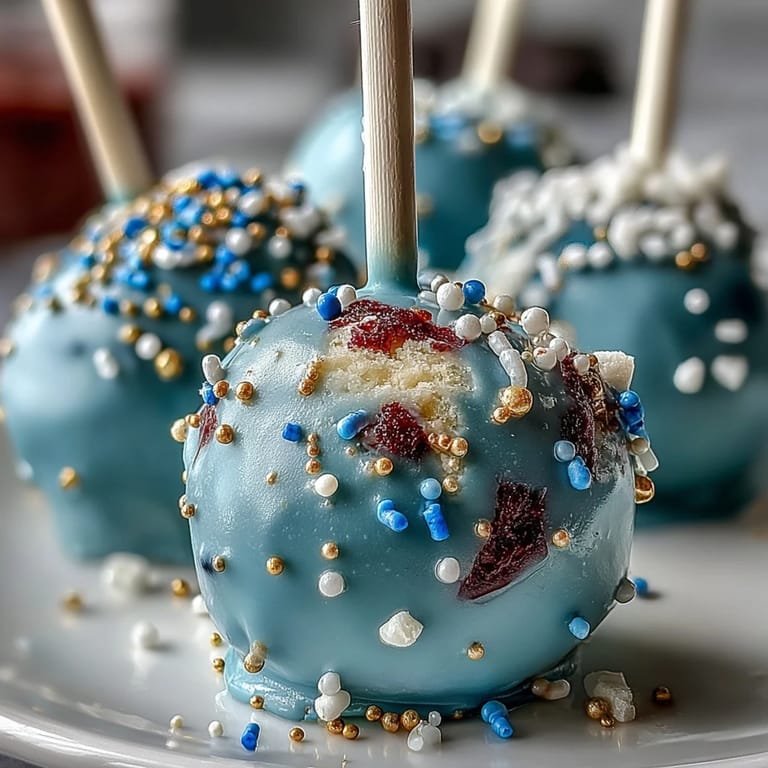
 Watching everyone clamor around the dessert table, reaching for their favorite colored pop, I realized these treats had become more than just edible decor. The gold sprinkles on lips and laughter in the air turned a simple recipe into a moment of joy and pride.
Making Them Ahead for the Big Day
I discovered that preparing cake pops the night before means less stress, and they taste even better after resting. Wrapping them up in cellophane or keeping in airtight containers preserves freshness and keeps the decorations vibrant.
Decorating with Friends and Family
Letting everyone dip and sprinkle their own pops brings out unexpected creativity—no two ever look alike. Standing around the kitchen counter, colorful fingers and gold flecks everywhere, it feels more like a party than baking.
Troubleshooting and Quick Fixes
If your pops refuse to stay on the stick, just chill the balls longer—it makes all the difference, trust me. Don't worry about drips or imperfect shapes; they vanish once coated and decorated. A spare bowl of candy melts within reach solves most mishaps on the spot.
- Keep extra melted candy handy for fixing cracks or patching pops.
- Practice with a plain cake ball before decorating the batch.
- Always use a Styrofoam block for drying—it prevents smudges.
 Save It
 With these cake pops, graduating never tasted so sweet. Every bite carries a little cheer for the journey ahead—and a sparkle of gold for good luck.
Common Questions About Recipes
- → How can I match cake pops to school colors?
Use candy melts in shades corresponding to your school's colors for the outer coating.
- → Can I use homemade cake instead of mix?
Yes, any homemade vanilla or chocolate cake works for the base, as long as it’s cooled and crumbly.
- → What’s the best way to get a smooth coating?
Adding a bit of vegetable shortening or coconut oil to melted candy helps achieve a glossy finish.
- → How do I keep pops from falling off the sticks?
Dip each stick in melted candy before inserting into the cake balls to secure them firmly.
- → How long will decorated cake pops keep?
Store in an airtight container at room temperature for 3 days or in the refrigerator for up to a week.
- → Can I decorate pops with other toppings?
Try using ribbons, edible glitter, or colored sugar for extra flair and customization.