 Save It
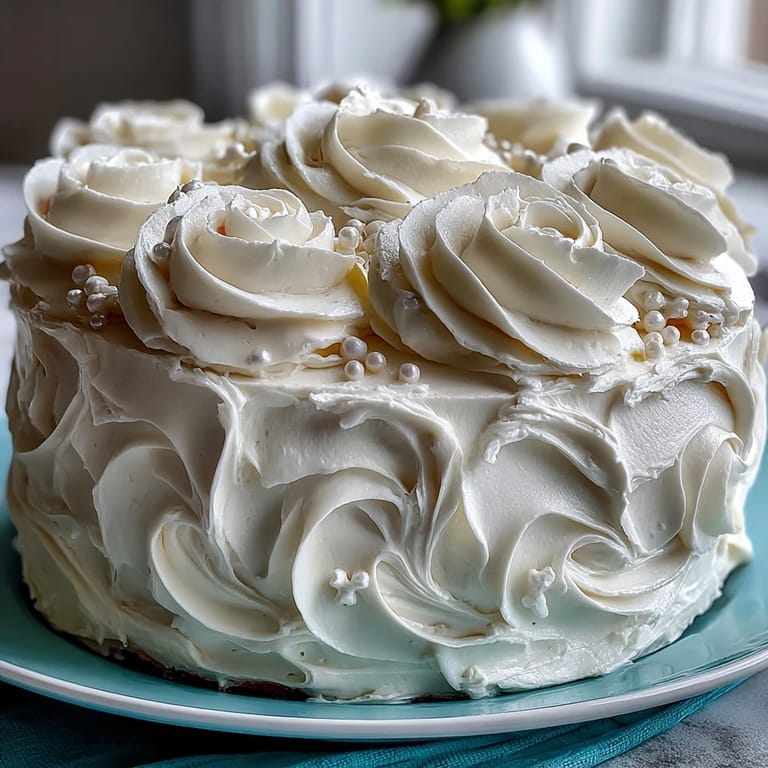
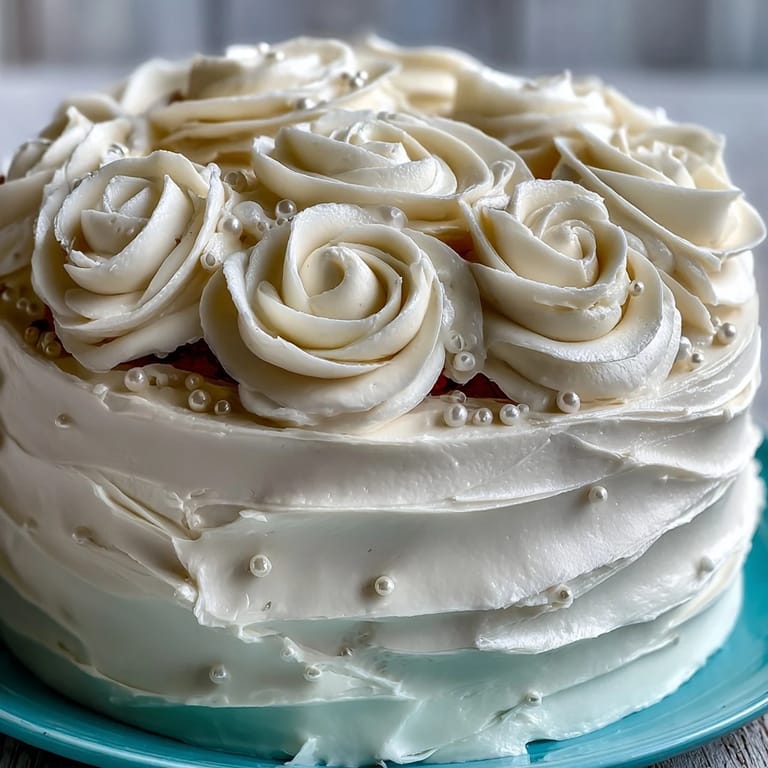
 The first time I made a First Communion Cake with white roses and a cross topper, the kitchen was quiet except for the steady hum of the mixer and the soft tap of measuring cups. The scent of vanilla drifted through the air as I watched buttercream swirl into pale clouds. I remember pausing mid-decorating, hands sticky with fondant, and admiring how even the simple act of rolling petals felt meditative. That morning, sunlight bounced off the sugar crystals, making everything feel festive. There was a calm confidence, even though my roses were more abstract than intended.
Crafting this cake for my niece's First Communion meant juggling excitement and nerves. The family hovered nearby, sneakily sampling extra buttercream, and the conversation turned warm and teasing—it was a shared effort. The cross topper was placed with care, and everyone admired the delicate roses before diving in. Somehow, even the quietest family members found themselves drawn into the kitchen, just to peek at the finished creation. It felt bigger than dessert—it was a centerpiece to a milestone.
Ingredients
- All-purpose flour: Gives the sponge its tender crumb—sifted for even mixing.
- Baking powder: Lends a gentle lift, but don’t overdo or the cake will rise unevenly.
- Salt: Just a touch balances sweetness—never skip, even in cakes.
- Unsalted butter: Room temperature works wonders for creaming; soft but not oily is key.
- Granulated sugar: Creates crisp edges and cracks on the surface; use superfine for more delicate texture.
- Eggs: Mix in one at a time for best structure—cold eggs can seize the butter.
- Vanilla extract: True vanilla deepens the flavor; don’t substitute with imitation.
- Whole milk: Adds richness and keeps the crumb moist; room temp prevents lumps.
- Powdered sugar: Sift before mixing for creamy, lump-free buttercream.
- Green gel food coloring: A tiny dab colors fondant for leaves, but too much turns it muddy.
- White fondant: Smooth and malleable—keep sealed until ready or it dries fast.
- Edible pearls or silver dragees: These little accents make the cake sparkle and add crunch.
- Cross-shaped topper: Whether handmade or bought, it anchors the celebration atop the cake.
Tired of Takeout? 🥡
Get 10 meals you can make faster than delivery arrives. Seriously.
One email. No spam. Unsubscribe anytime.
Instructions
- Set Up Your Pans:
- Flip the pans upside down and trace the bottoms onto parchment for perfect rounds. Grease thoroughly and press in the liners—tap for air bubbles.
- Mix the Dry:
- Whisk the flour, baking powder, and salt until light and slightly aerated. You’ll feel the difference when pouring into the batter.
- Cream Butter and Sugar:
- Let the mixer run until butter turns pale and fluffy. Pause to scrape down the sides; the mixture should smell buttery and sweet.
- Add the Eggs and Vanilla:
- Crack eggs in one at a time, mixing gently. Watch as the batter thickens with each addition before splashing in the vanilla.
- Combine and Alternate:
- Alternate spoonfuls of flour mixture and milk, keeping your mixer on low. The batter will turn silky—stop once you no longer see streaks of flour.
- Fill and Smooth:
- Pour batter evenly into pans, using an offset spatula to smooth the top. Tap the pans gently on the counter to settle.
- Bake and Cool:
- Bake until edges are golden and a toothpick comes out clean. Let cakes cool for 10 minutes, then flip onto racks to finish cooling.
- Make Buttercream:
- Beat butter until creamy, then slowly sift in powdered sugar. Add vanilla and a pinch of salt before adjusting the texture with milk.
- Layer and Crumb Coat:
- Trim the cake tops if needed. Spread buttercream between layers, then cover with a thin coat—chill so everything sets.
- Final Frosting Coat:
- After chilling, apply a smooth layer of buttercream. Use long, gentle strokes for an elegant finish.
- Shape Fondant Roses:
- Roll fondant into balls, flatten, and shape petals with your fingers. Assemble into roses, using green-tinted fondant for leaves.
- Decorate and Top:
- Arrange roses and leaves, and add pearls for a touch of sparkle. Place the cross topper firmly at the center.
- Chill and Serve:
- Refrigerate the cake until ready to slice—this sets the decorations and keeps it fresh.
 Save It
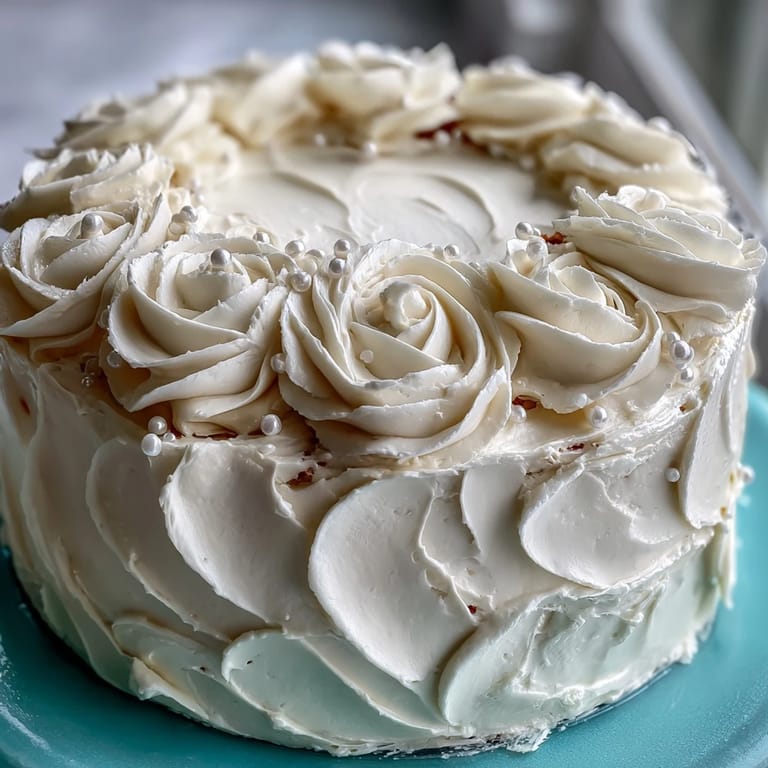
 When the cake was finally sliced and served, I caught my nephew quietly picking off pearls to save for last. Light laughter filled the room, and more photos were taken of the cake than the guests. It became an ice-breaker—everyone wanted to touch or compliment the white roses. There was pride in the cross topper, but the memory is anchored in the little smiles the cake inspired. It really transformed the gathering.
Fondant Flowers That Impress Without Stress
Shaping fondant roses can feel daunting, but if your petals are imperfect, they look surprisingly natural. Rolling out fondant between parchment sheets prevents sticking and keeps cleanup minimal. If you’re feeling bold, tinting fondant green for leaves adds dimension. I learned that prepping all petals first speeds up assembly. Remember to cover unused fondant to avoid drying—it can be unforgiving.
Buttercream Smoothness—A Secret Weapon
Buttercream can be tricky: if it gets too warm, it loses shape, but too cold, it won’t spread. I sometimes pop my mixing bowl in the fridge for a few minutes if the kitchen’s hot. The biggest difference comes from sifting powdered sugar—lumps ruin the finish, but a silky base sets you up for easy swirls. If your cake surface cracks, a second layer of buttercream hides everything. Steady hands and a little confidence finish the job.
Party Prep: Keeping Your Cake Fresh and Beautiful
Chilling after each decorating stage preserves the cake's appearance—especially important if you're prepping the night before. I cover finished cakes lightly to avoid condensation, which can dull the fondant and buttercream. Cut only when your guests are ready to eat so the decoration stays perfect.
- Transport cakes in a sturdy box to prevent disaster.
- Slice with a warm knife for clean portions.
- If serving outdoors, keep the cake shaded and cool for best texture.
 Save It
 Share this cake at your next milestone, and savor the creative process as much as the result. Each slice brings both beauty and joy to the occasion.
Common Questions About Recipes
- → How do I make fondant roses for decoration?
Roll small balls of white fondant, flatten into petals, and assemble to create delicate rose shapes. Use green-tinted fondant for leaves if desired.
- → Can the cake be made gluten-free?
Yes, substitute the flour with a 1:1 gluten-free blend to maintain texture and flavor without gluten.
- → Are there flavor variations for the sponge?
Lemon zest or almond extract can be added to the vanilla sponge for a unique twist.
- → What tools are essential for assembling and decorating?
You will need round cake pans, an electric mixer, offset spatula, rolling pin, fondant tools, and a cake board.
- → How can I achieve a smooth buttercream finish?
Apply a thin crumb coat first, chill, then add a final layer, smoothing with an offset spatula for professional results.
- → What allergies should I be aware of?
This cake contains wheat, eggs, and dairy. Fondant may contain traces of nuts, so always check ingredient labels.